Oct 05, 2020
Embroidery is always time-consuming.
By the time a piece is done, it will have taken a significant number of hours,
and you will want to finish it in a way that makes all that hard work shine.
Taking it to the framer is pretty common, though you will need to make sure they know how to work with embroidery.
There are also about a million tutorials for putting the finished work in a hoop.
But you might want to do things differently, or do them yourself.
And because I'm formally trained, I've got a whole bunch of tricks that I don't see in any tutorials.
Here they are for all to use!
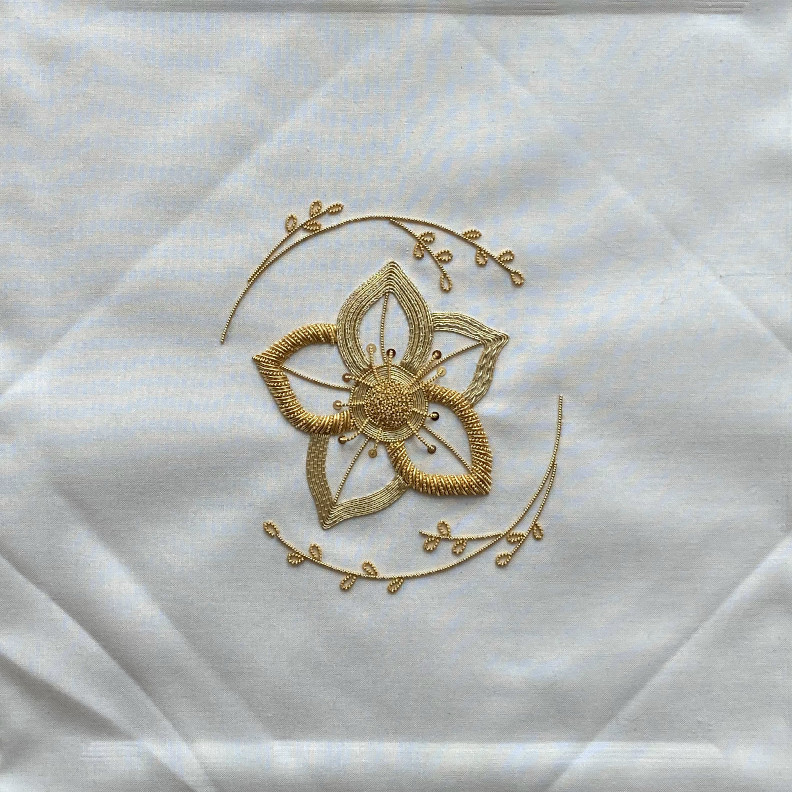
The piece used as an example is my execution of the Royal School of Needlework's goldwork kit.
It is sold with their excellent online class.
Unfortunately, the silk fabric decided to mess with my camera and many of the process pictures have bizarre blue-yellow stripes as a result:
I will hopefully update this article with better pictures from a different project next time I assemble one.
This is part 1 of a series, and primarily discusses planning and wet-stretching.
Part 2 will cover stretching the piece on a stretcher frame.
Before stitching
For the best results, you should decide how a piece will be finished before you even cut the fabric.
If you plan on turning it into an everyday item, the piece of fabric needs to be big enough for that.
If you plan on framing or stretching the piece like a painting, it needs wide margins.
If it's being turned into a biscornu, it only needs tiny margins.
If you plan on hooping it, the corners are irrelevant, and so on.
You might not know how you want to finish a piece when you start it. That's okay!
In that case, try to get a sense of how much white space you will want around the pattern,
and add at least 5cm (2 inches) of margin on each side.
That will give you enough room for most finishing techniques.
You should also iron your fabric as flat as possible before you start stitching.
This is the only time when you can actually press it without squishing your work,
so don't waste that opportunity!
Adjust your iron's temperature depending on the material,
only use steam if the wrinkles are stubborn and the fabric can take it.
If you're working with hand-dyed fabric,
make sure to test a small patch first.
Sometimes the colors are sensitive or not quite fixed properly:
if that's the case, they can burn and change as you iron the fabric,
especially if it's still wet.
Stretching: the easy way
Once you're done embroidering, the piece probably looks like a bit of a mess.
It might have marks from the hoop or frame that you used,
small wrinkles where the tension wasn't perfect,
a leftover fold from how the fabric was packaged, slight distortion.
I will not cover washing a piece that got stained or has hand oils in it:
the basics are covered elsewhere,
and my take on the topic would double the length of this article.
With some embroidery techniques, the finished piece is still quite flat and the materials are not too sensitive:
in that case, you can skip most of the complicated stretching.
That's typically the case with cross-stitch, because it is often worked with cotton floss on sturdy cotton or linen fabric.
You can give the piece a bath, with or without cleaning products, and square it up by gently pulling on it while it's wet.
Then leave it flat to air-dry, making sure it has no folds or wrinkles: we're trying to take those out!
You can iron it, face-down on a bath towel which provides padding and avoids crushing the stitches.
If you have made sure that your threads and fabric are somewhat colorfast, you can use a bit of steam through the towel:
that will help the stitches plump up and look more even.
Stretching: the hard way
For techniques with a less even surface, more sensitive materials, or more distortion,
I use a different approach learned at HV.
This was obviously the case with this goldwork piece:
I did not want water, soap or a hot iron anywhere near those metal threads.
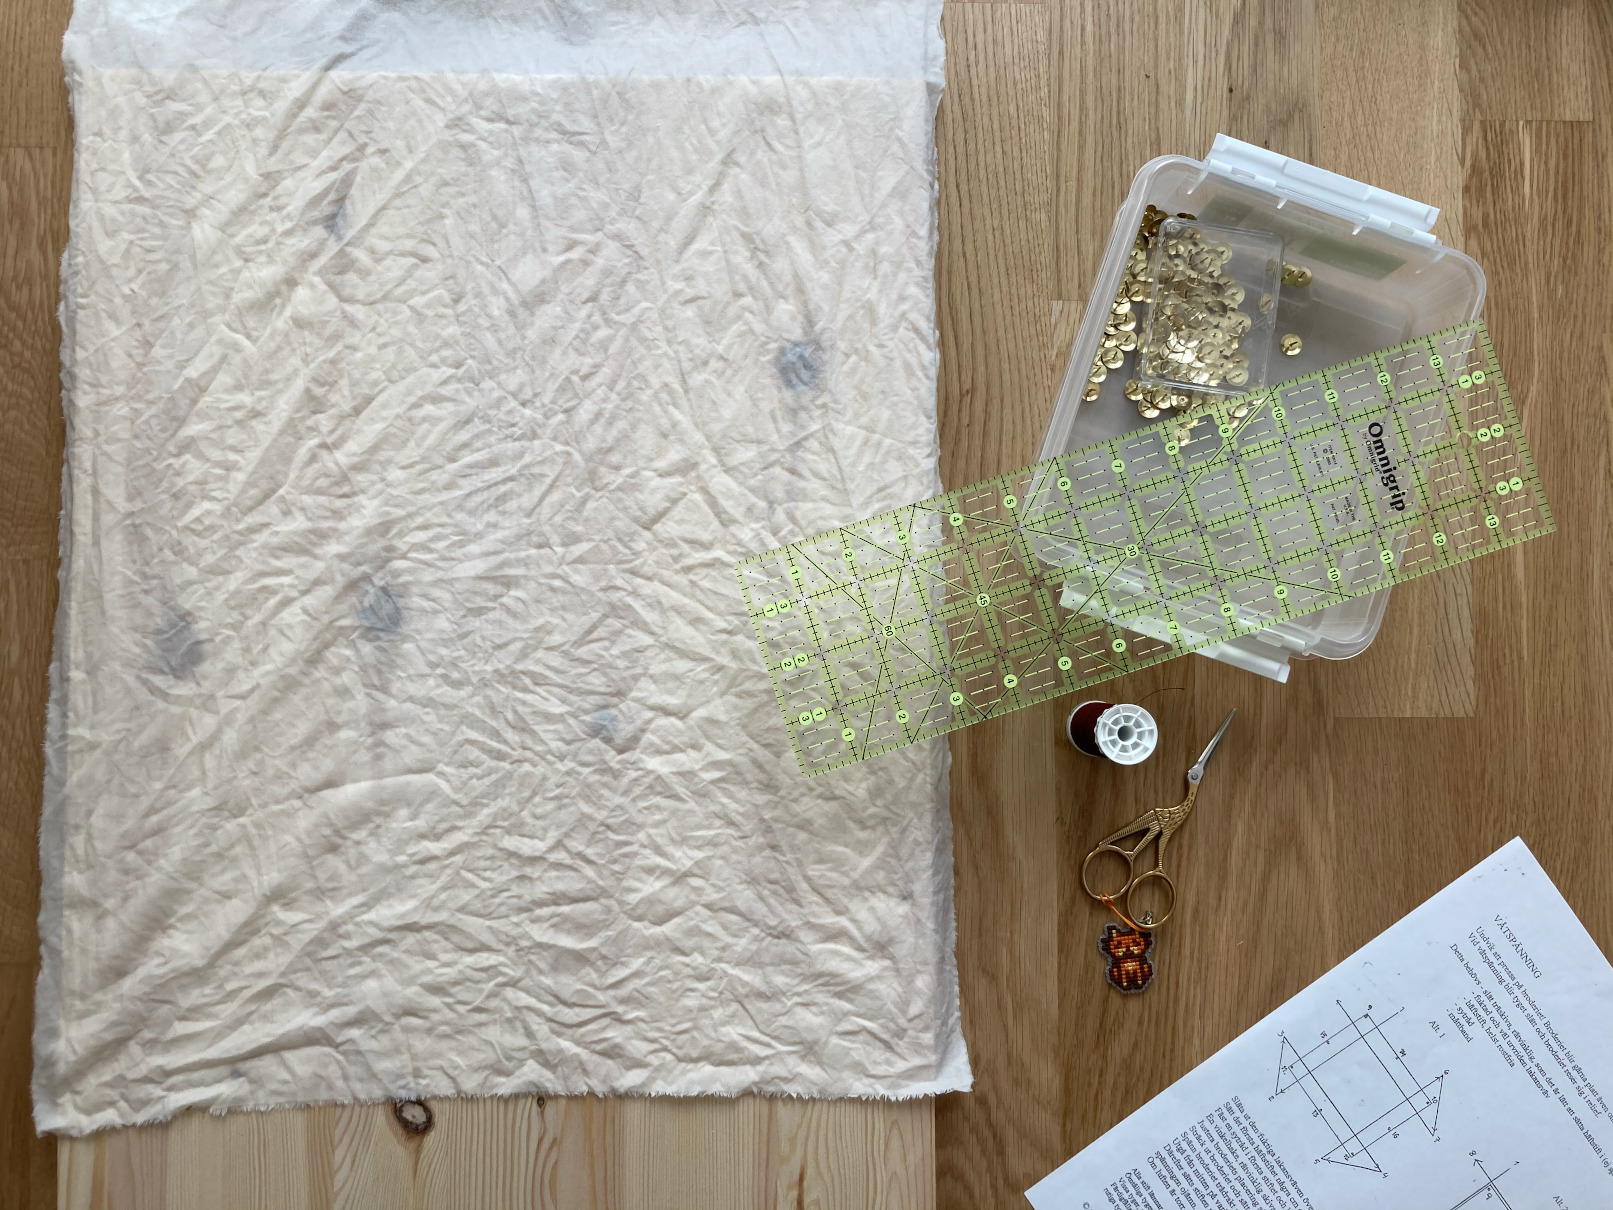
You will need:
- a wood plank;
- a large piece of wet fabric;
- a lot of thumb tacks, and a spoon or other tool to remove and reposition them easily;
- some sewing thread;
- a set square;
- and a decent amount of patience.
The steps are, broadly:
- Laying out the piece;
- Building a reference frame;
- Putting in the first pins;
- Pinning to hell and back;
- Waiting for it to dry.
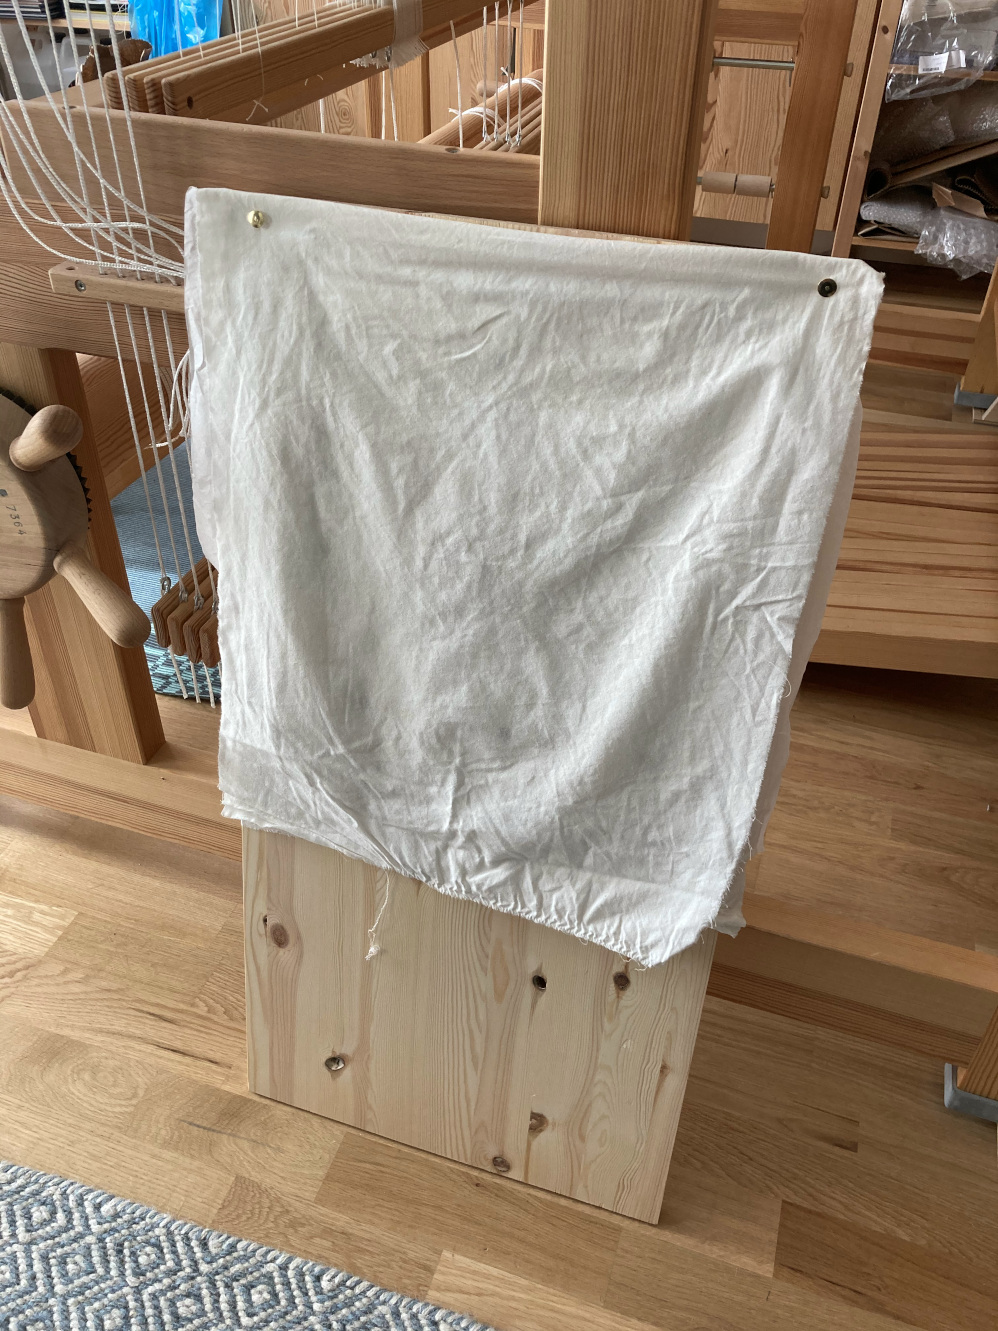
The fabric used for wetting needs to be clean and leave no residue,
because it will generally be touching your embroidery directly.
A piece of an old white bedsheet is ideal:
cut it so it's as wide as your plank, and twice as tall.
Wet the fabric thoroughly until it's entirely soaked, and squeeze out as much water as you can.
Since you rely on the fabric staying wet, plan to do everything that follows in a single sitting.
But don't get too stressed: you likely have at least an hour of working time.
The goal is to allow the piece to sit stretched and squared up as water slowly evaporates through it,
setting it in the right position without the stress of heat or full soaking.
It's quite similar to blocking knitting, but more involved due to being unable to submerge the piece.
Laying out the piece is simple.
Work on a horizontal surface at a comfortable height - or, if you're me, on the floor.
Put the plank down, then add the wet fabric on it:
make sure at least half of it is available as a "flap" to fold over in the last step.
Put a couple thumb tacks in, especially on the top edge, so the fabric stays put.
Finally, put your embroidery on top.
If the material you stitched on is especially sensitive,
you can add silk paper between the wet fabric and the piece to avoid any risk of water stains.
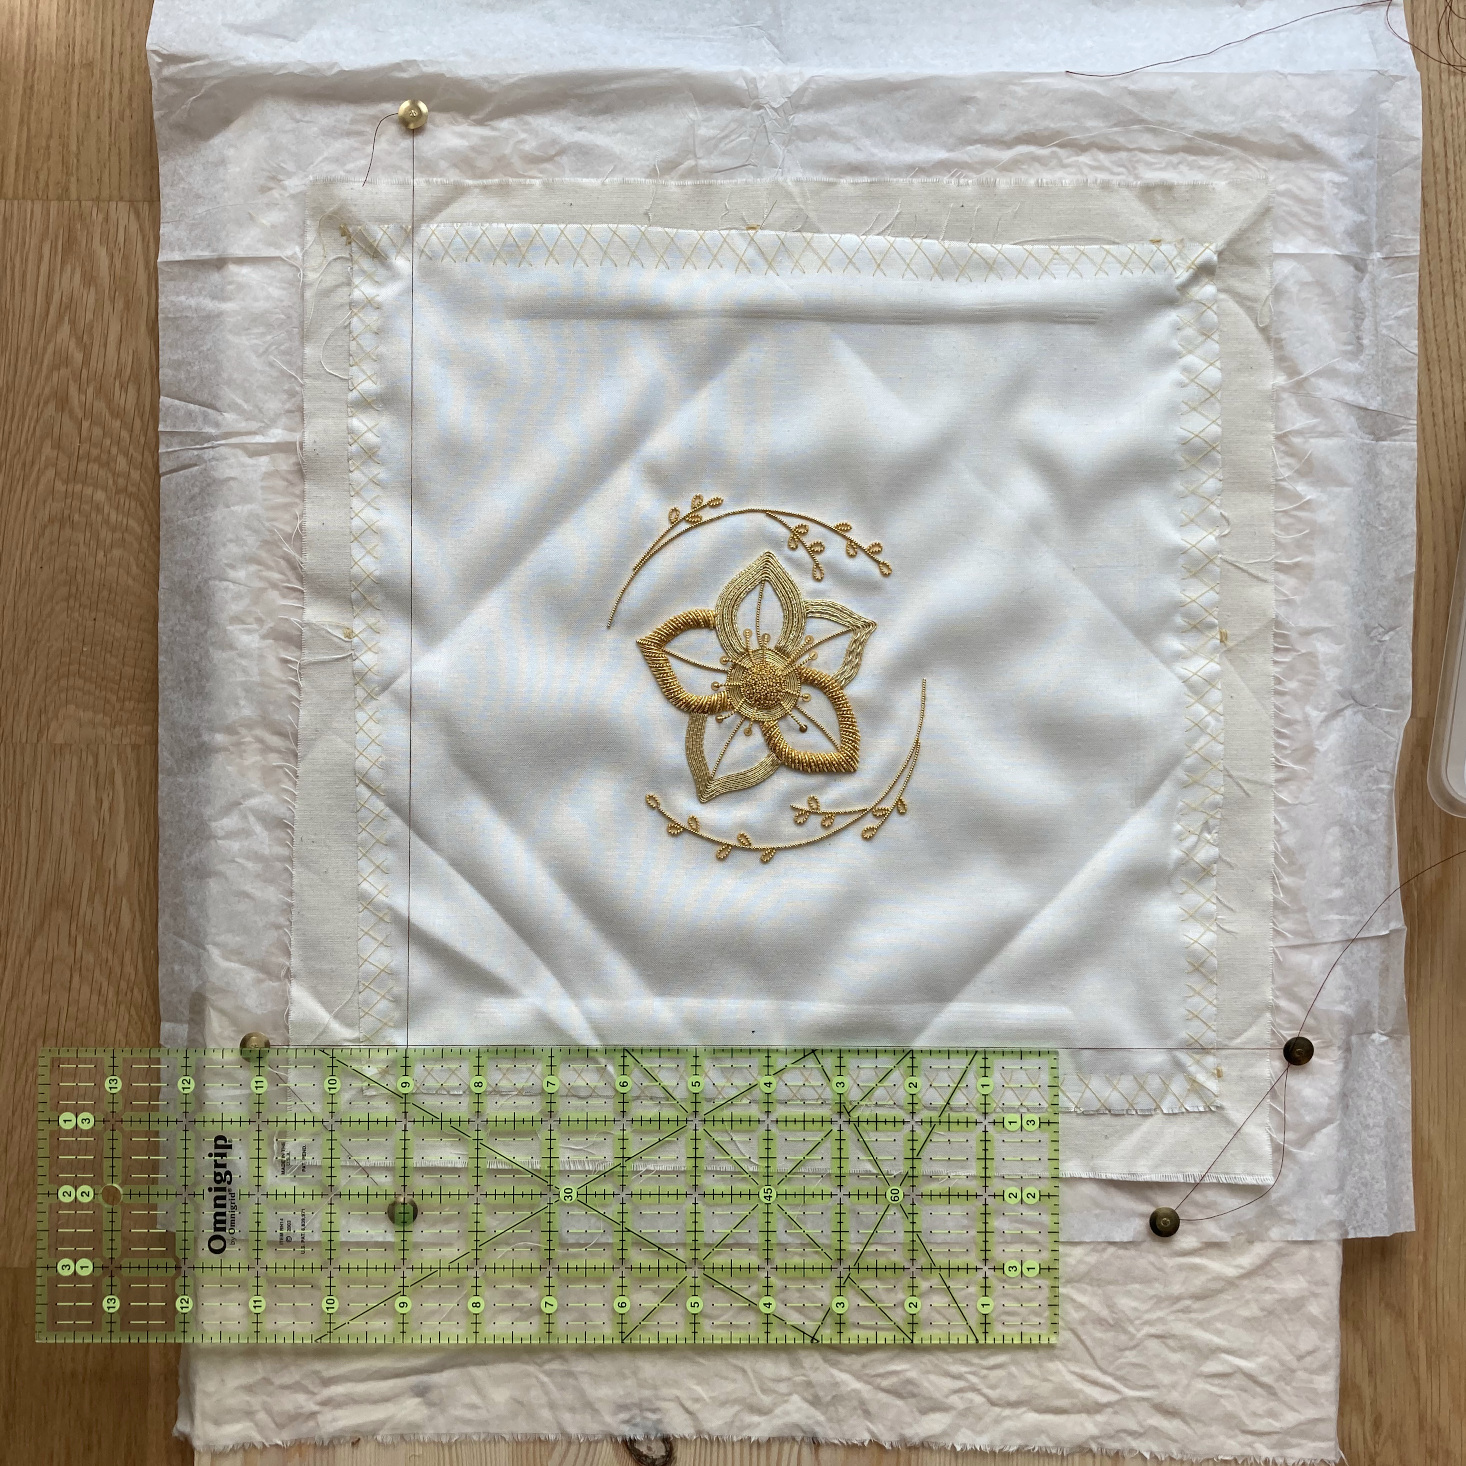
Building a reference frame is done with the sewing thread, 8 thumb tacks, and the set square.
The goal is to have a visual reference for squaring and stretching your embroidery evenly,
floating above the piece.
All the thumb tacks for the frame go into the wet fabric and the plank, not into the embroidery itself.
The text description is followed by step-by-step schematics for clarity!
Put the first thumb tack down to the top left side of your piece, above the top edge but slightly to the right of the left edge.
Anchor the sewing thread to that first tack, for example with a slipknot.
The second thumb tack goes on the bottom left of your piece, vertically aligned with the first one and under the bottom edge.
Don't sweat the alignment too much: you will adjust the piece to match the frame, not the other way around.
The third thumb tack also goes on the bottom left, this time above the bottom edge and to the left of the left edge.
Wind the thread around the second and third tacks, doing a couple extra rounds to make sure it's well-tensioned and straight.
The fourth thumb tack is the first one you have to position carefully:
it goes to the bottom right of the piece, to the right of the right edge but above the bottom edge.
The line between the third and fourth tacks needs to be perpendicular to the line between the first and second tacks.
To achieve that, wind the thread around the fourth tack to tension the thread,
put the set square down (if you can) or hold it up, and push the tack down when the two lines are at a right angle.
Keep going around the entire piece that way, making sure all the angles are correct and building a full frame.
It's now time to pin into the embroidery itself!
If your main fabric is fragile, it should have been backed with something sturdier.
For example, this goldwork piece is sitched on silk backed by calico.
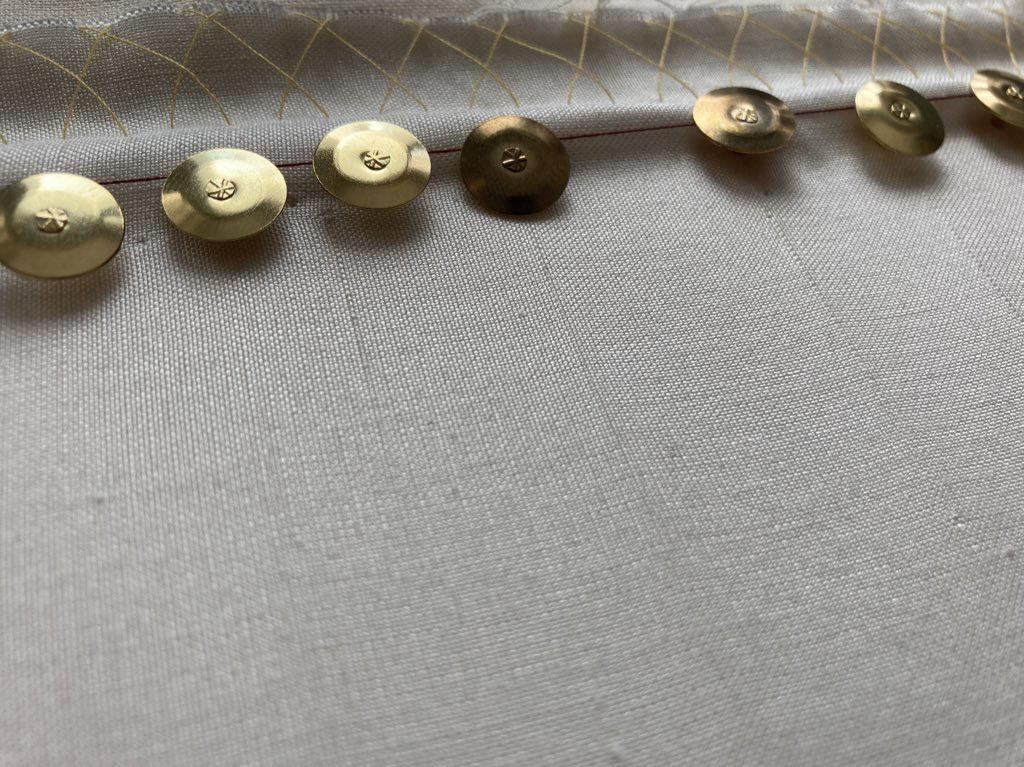
The thumb tacks will leave holes, and should go in the margin you left around your piece, not in a part that will be visible.
However, if you're pinning in a delicate fabric like silk, it can create cracks that will spread far enough to show:
this is a mistake I made here, and I should have pinned into the calico instead.
Move the embroidery around until it's centered and aligned under the thread frame,
and put the first thumb tack in the middle of the top side.
The goal is to take out the slack, and that means pushing it outwards:
so we start in the center, and work towards the edges.
The second tack goes in the middle of the bottom side.
Stretch the piece gently, making sure the vertical axis between the first two tacks is aligned with the frame.
Don't pull so hard that the fabric will tear, but make sure it is well-stretched.
Repeat the process with the centers of the left and right sides.
Then add four more thumb tacks for the corners, again stretching just enough and squaring things up.
At this point, take a step back: adjust those first eight tacks until things look good and are aligned just right.
Use a spoon or the like to yank them out, to safeguard your fingers a bit.
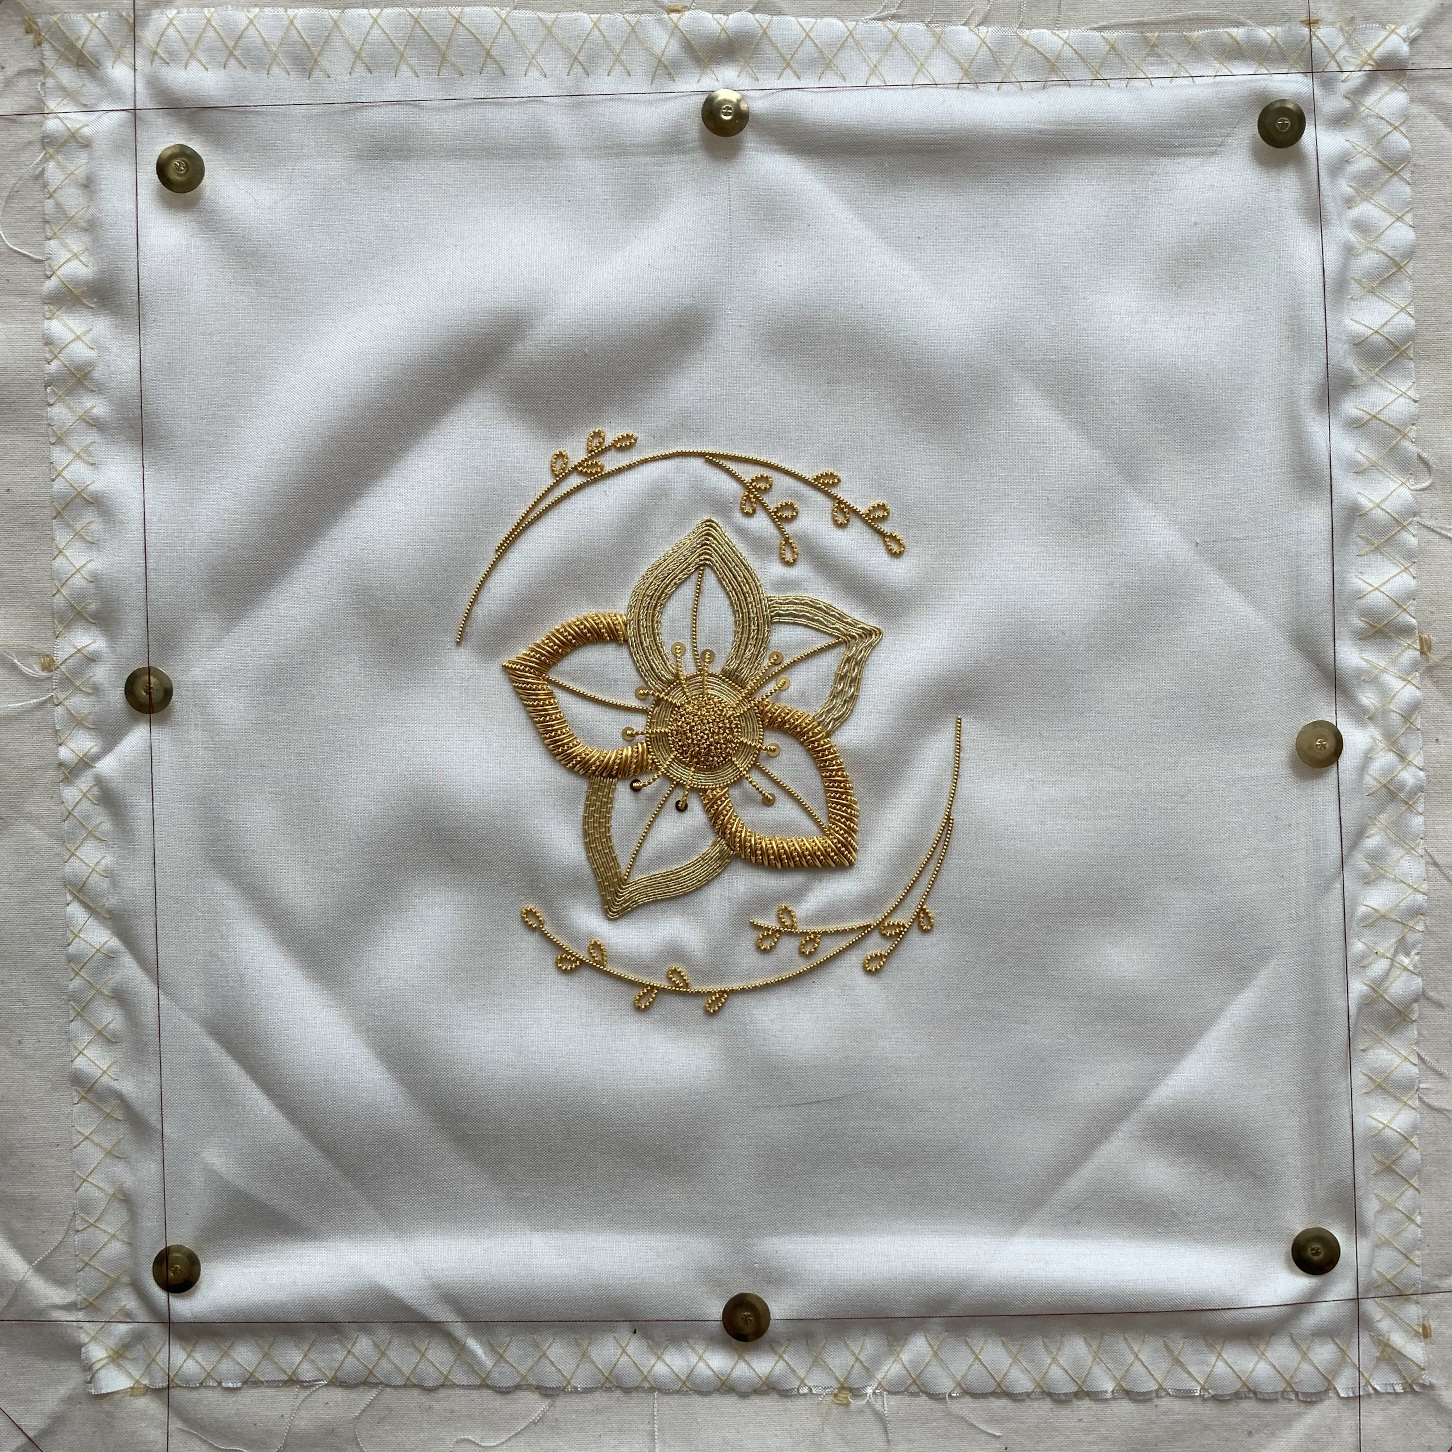
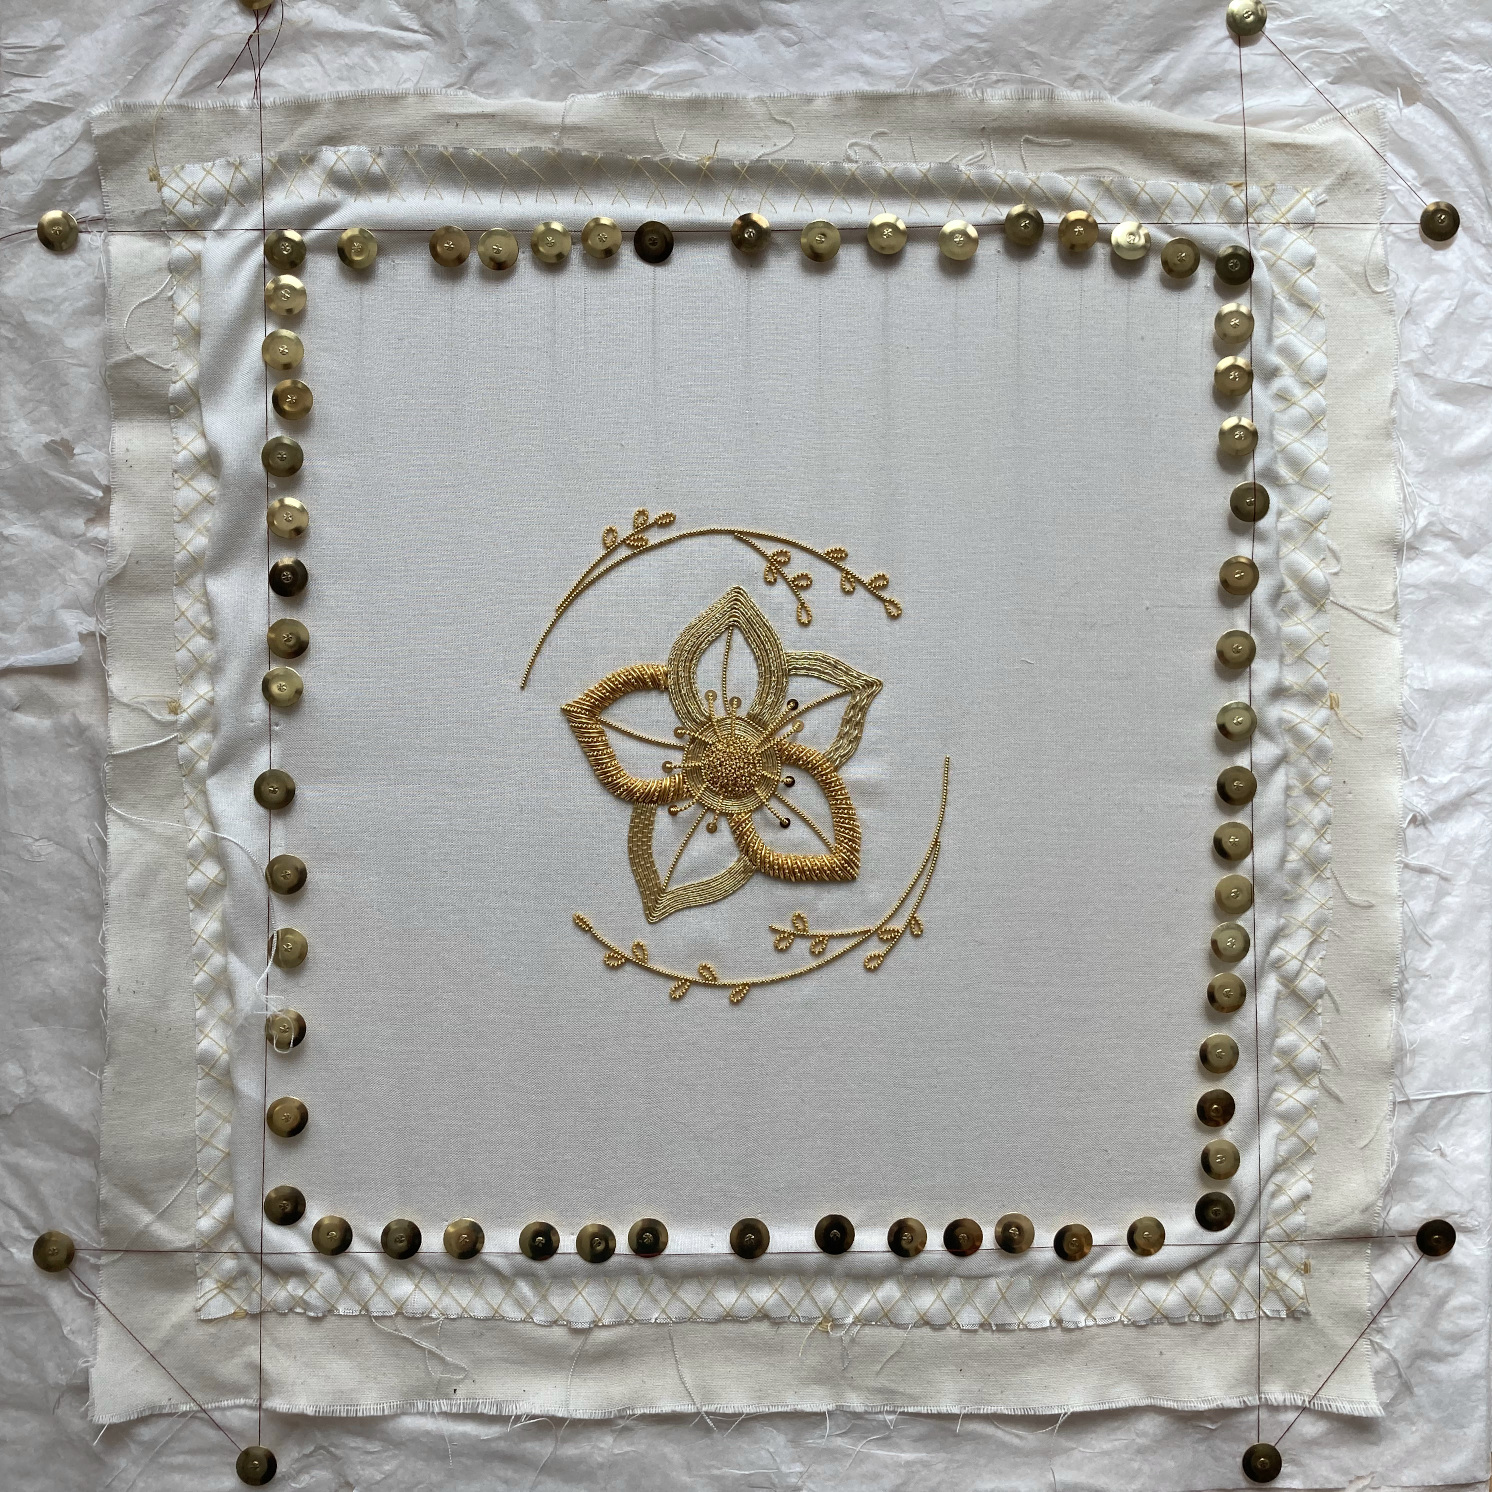
The last step is to add more and more thumb tacks, to distribute the tension evenly.
You will still need to pull the fabric, but most of the work should have been done in the previous step.
Going overboard is better than not having enough tacks:
it's nothing weird if you end up with a solid border of thumb tacks right next to each other.
Finally, make sure your wet fabric is anchored at the top, and fold it over your embroidery.
Again, you can put silk paper between the work and the fabric if you're concerned about water stains.
Stand the plank up and put the whole thing in a corner somewhere to dry.
Give it at least 24h:
depending on your climate, it might need more time to dry,
or it might need a light misting with a spray bottle to not dry too fast.
What now?
Once the piece is dry, it's ready for mounting.
That can be on a piece of board, inside a frame, as a wall hanging,
or any number of finishes.
One of my favorite ways to finish a piece, however, is to mount it on stretcher bars:
that will be covered in part 2, to come at some point.
As always, this article was made possible by Patreon support.
The blog will never be put behind a paywall, because I believe in free knowledge sharing.
Jun 25, 2020
In Swedish handweaving tradition,
hand-knotted carpets run a whole spectrum.
They can be somewhat loose with long loops,
very tight with short cut pile,
or anything in between.
The looser end of the scale is called rya,
the tighter end is called flossa.
They use the same technique and the same knot,
but produce very different results.
We'll focus on flossa today,
which is the one I'd wanted to test for years.
It proved a bit tricky even when cross-referencing several sources:
this posts records the extra things I had to figure out or ask people about.
As a result, it runs long and contains a ton of schematics.
Settle in!
The numbers
Like a good overarchiever fond of fine yarns,
I obviously went with something tighter than the traditional Swedish flossa.
The typical quality is 15 knots per 10cm in both directions, so I went with 20.
My sample warp was as follows:
- 8/3 unbleached linen from Holma;
- 4 ends per centimeter (one end per dent in a 40/10 reed);
- about 3m long, so I could weave a decent amount with both the front and back apron rod out of the way;
- 20cm wide pattern area, 88 threads total: 40x2 for the pattern, 3 for each border, and an extra one to double up the last border warp end.
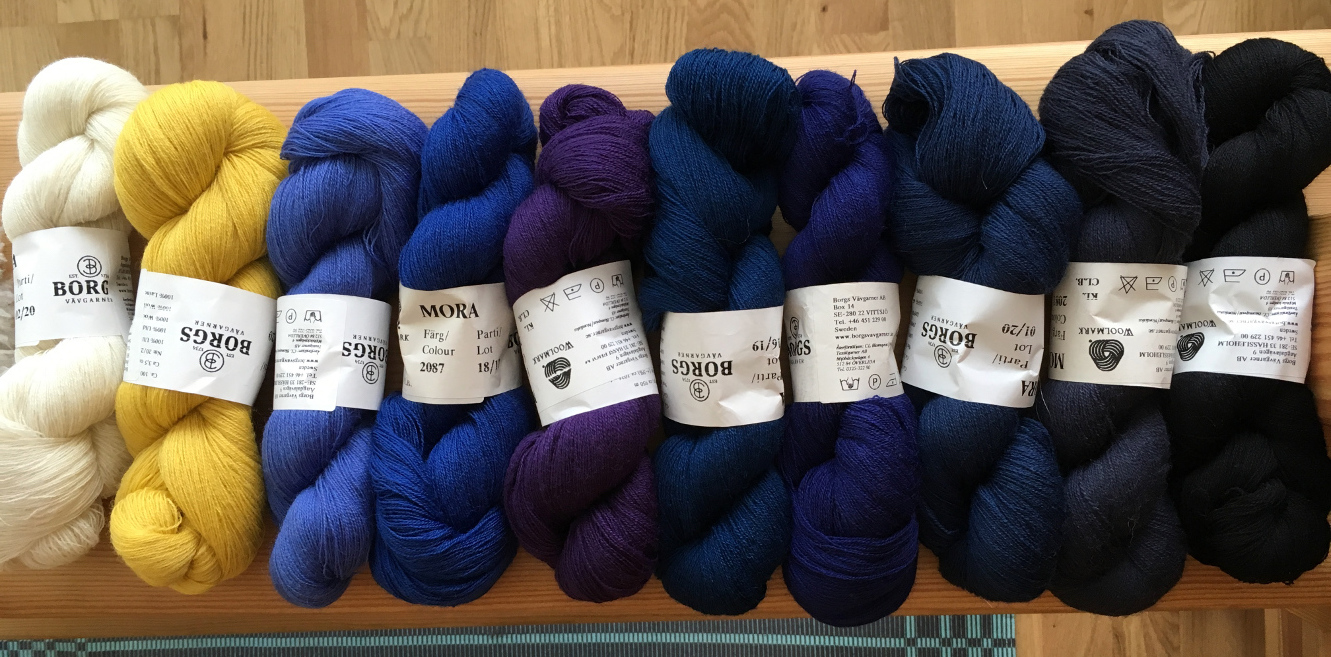
For the weft, I wanted to use some of that dark blue-purple palette I picked up impulsively.
All of that is a wool yarn called Mora, which is very thin and soft.
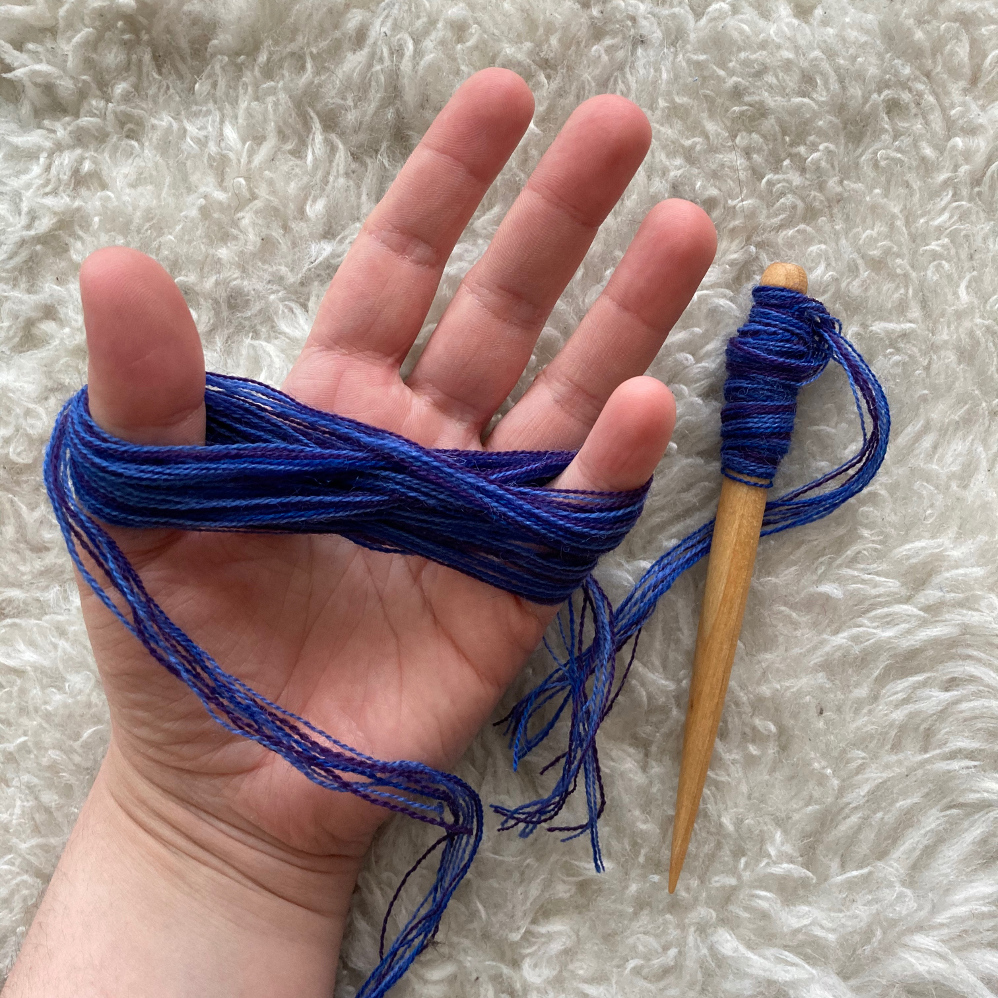
Because it's so thin, I had to group several strands into larger bundles,
which would let me play with color a lot more.
After much testing, I ended up with:
- 5 strands per bundle for both the ground and selvedges wefts (for consistency and a more homogeneous back);
- 10 strands per bundle for the knotted pile, resulting in 20 ends per knot.
Finally, to get perfectly square "pixels",
I needed to figure out exactly how many picks of ground needed to be woven betwen knot rows.
That ended up being:
- 6 rows of ground between knots;
- 4 rows of selvedge to create the "holder" for the knots.
Basics
The ground weave holds the knots in place,
and gives structure to the piece.
It's woven with classic tapestry technique:
plain weave, high warp tension, and a weft that covers the warp fully.
This means the weft has to do all the work,
traveling more around the warp ends,
and needs extra slack to make up for it.
If it doesn't have that extra slack, the warp will draw in.
On a loom without a beater, that will make the edges of the piece curve in,
resulting in a typical hourglass shape.
On a loom with a beater,
as I was using here,
that will cause the warp to get damaged by the friction of the reed.
Because I was weaving dark colors on a light warp,
the damage showed as broken linen fibers poking out through the wool!
Finding the right amount of bubbles to make and how big they should be takes a bit of trial and error:
always leave room at the start of your warp for sampling.
I used a tapestry bobbin to make the bubbles,
since my sett was high and doing it with my fingers was tricky.
Next is the pile.
The most common knot is known as rya or Ghiordes knot.
It's made over two warp threads,
with the ends of the pile bundle coming up between those two threads.
There are other knots one can use to get special effects or a higher density:
see the references at the end of the page.
I used tapestry bobbins again, because my yarn butterflies always come undone.
I also find bobbins much easier to wrangle,
but that's a personal preference!
To get an even pile length a bit more easily,
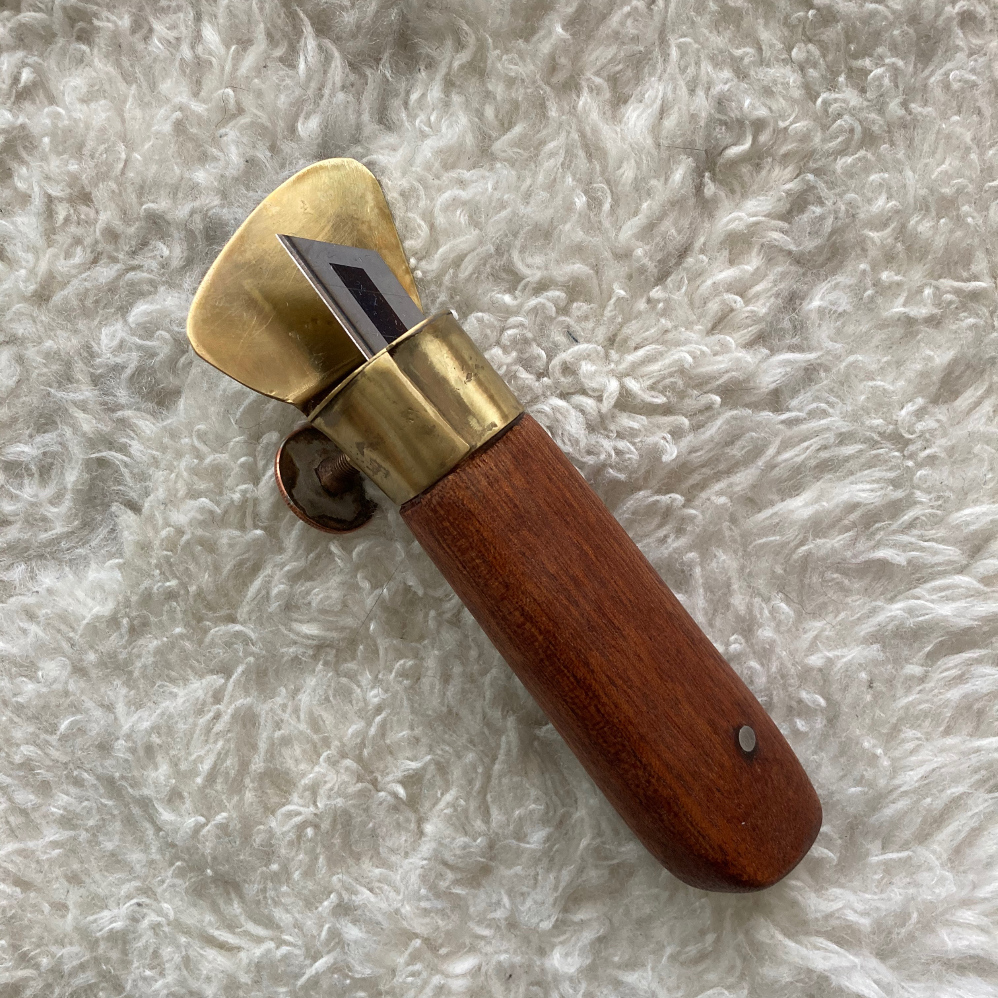
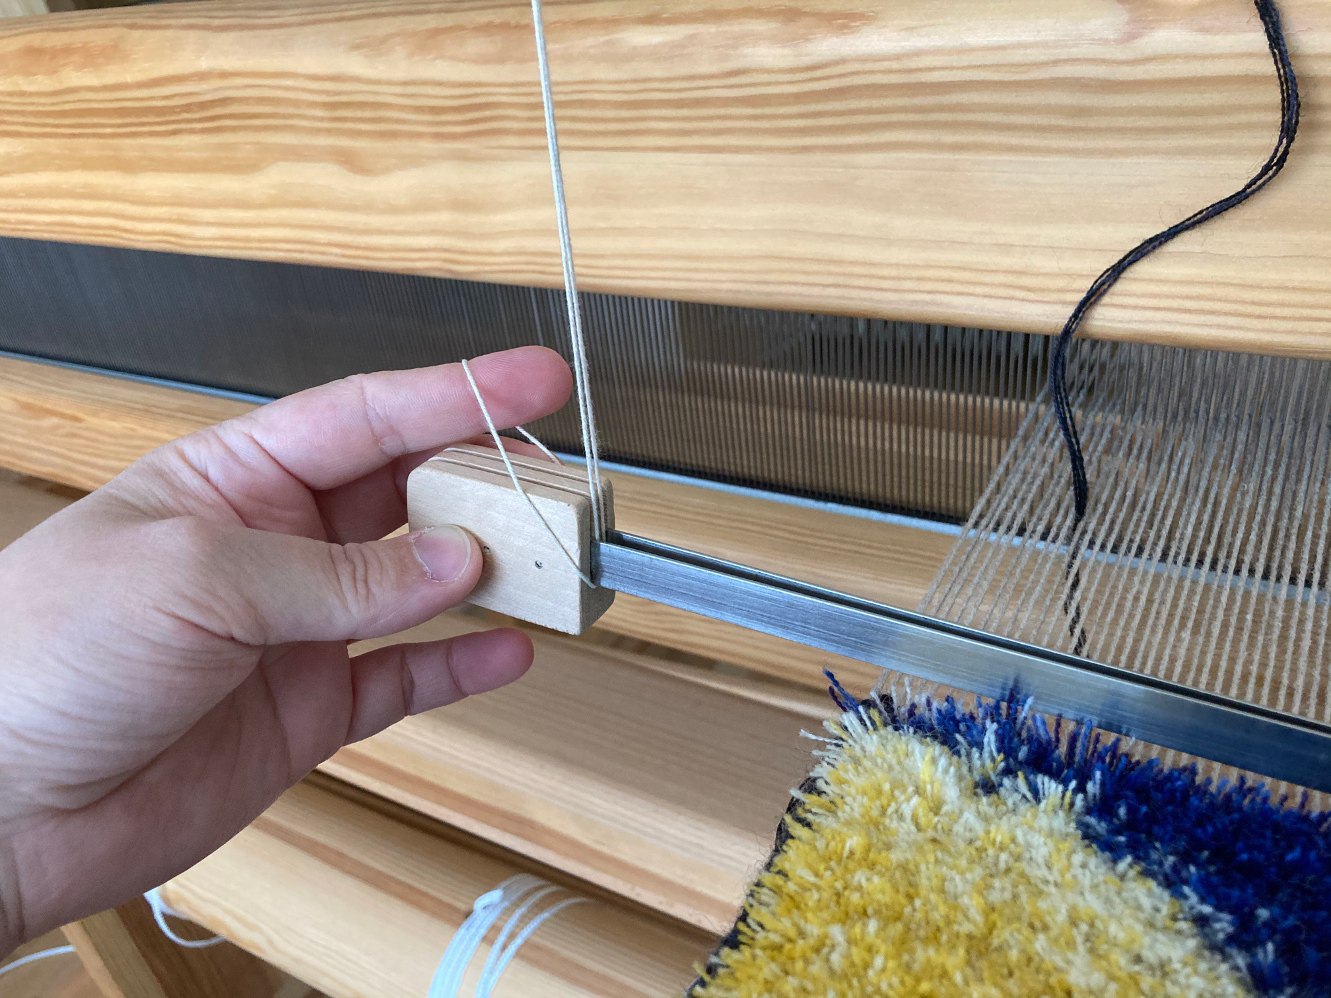
the knots can be made around a "flossa ruler",
which consists of two long, thin metal plates held together.
The height of the ruler will be the height of the pile,
whether it's left as loops or cut.
A blade can then be ran between the plates to cut the pile,
and there is a special flossa knife with a protection plate to avoid cutting too deep.
But none of those tools are necessary:
you can make loops around your fingers for consistency, and cut them open with scissors.
Complications
Things got complicated due to the selvedges.
The pile will not go all the way to the edges of the piece,
meaning they need to be built up separately to keep things lined up.
There are a lot of different ways to tackle them:
I kept it simple, and wove the three edge threads in plain weave.
In Swedish, that's called a "platt kantsnärjning", flat selvedge.
As suggested by Att Väva - see references - I gave each side its own yarn bundle.
But those selvedges aren't the whole picture:
there is also a ground weft, generally much cheaper yarn,
that is woven between the rows of knots to keep them in place.
How this ground weft interacts with the selvedges can vary a lot,
but it needs to interlock or overlap in some way to avoid creating gaps.
Again Att Väva gave pointers, but a few things remained unclear.
And no book I could find explained them quite enough!
Luckily, Arianna, one of the authors of Att Väva, answered my (numerous) questions,
and I was able to put something together.
Solutions
The first thing I figured out when testing is that "meet and separate" very much applies.
That's a ground principle of tapestry weaving,
which dictates that wefts are always started and ended together or at the edges,
and have to "meet" each other when they change direction on the same pick.
How does that affect the selvedge wefts?
Because they both have to meet the ground neatly,
they need to be offset to obey meet and separate.
Att Väva actually contains a hint to this
when it says both selvedges bundles need to hang under the last warp thread:
because the warp end count is an even number,
that's only possible if they are offset.
That means that they both weave towards the left, or towards the right,
but never "inwards" or "outwards" at the same time.
Note how the left selvedge weft weaves five times instead of four at the start,
and ends up one pick ahead of the right selvedge weft.
Next, we need to interlock the selvedges and the ground.
Att Väva suggests pushing the selvedge bundle further in,
interlocking the wefts as you would in rölakan,
and alternating how far in it goes - 1, 2, 3 knots' worth -
so the extra bulk is distributed over the width.
That left the last piece of the puzzle:
how does the ground weft go between knot rows?
Because due to the interlocking, it's not on the edge anymore,
and has to go between the knots as they're being made.
Arianna thankfully had an answer to that question:
just pull a loop of the ground weft between the warp ends,
and put the shuttle / bundle out of the way on the beater or right beyond it.
That way, the ground weft does not interfere with the knotting,
and is still in the right place once it needs to be used again.
Putting it all together
My sample had 6 picks of ground to hit exactly 5mm per knot row.
This means the whole 1 - 2 - 3 sequence happened once per ground sequence,
and got flipped in the next section.
The weaving therefore had the following steps, starting right after a knot row is complete. The number of knots under which to interlock alternated every other repeat.
- Beat the knots in place;
- Pull the ground weft loop back up, 1 (3 on the alternate repeat) knots in;
- Row 1:
- Ground towards the right;
- Right selvedge towards the left;
- Stop 3 (1) knots in.
- Row 2:
- Interlock and weave right selvege towards the right;
- Weave left selvedge towards the right;
- Stop 1 (3) knots in;
- Weave ground towards the left;
- Stop 1 (3) knots in.
- Row 3:
- Interlock and weave left selvege towards the left;
- Weave right selvedge towards the left;
- Stop 2 (2) knots in;
- Weave ground towards the right;
- Stop 2 (2) knots in.
- Row 4:
- Interlock and weave right selvege towards the right;
- Weave left selvedge towards the right;
- Stop 2 (2) knots in;
- Weave ground towards the left;
- Stop 2 (2) knots in.
- Row 5:
- Interlock and weave left selvege towards the left;
- Weave right selvedge towards the left;
- Stop 1 (3) knots in;
- Weave ground towards the right;
- Stop 1 (3) knots in.
- Row 6:
- Interlock and weave right selvege towards the right;
- Weave left selvedge towards the right;
- Stop 3 (1) knots in;
- Weave ground towards the left;
- Stop 3 (1) knots in.
- Row 7:
- Interlock and weave left selvege towards the left;
- This corrects for the offset between selvedge bundles.
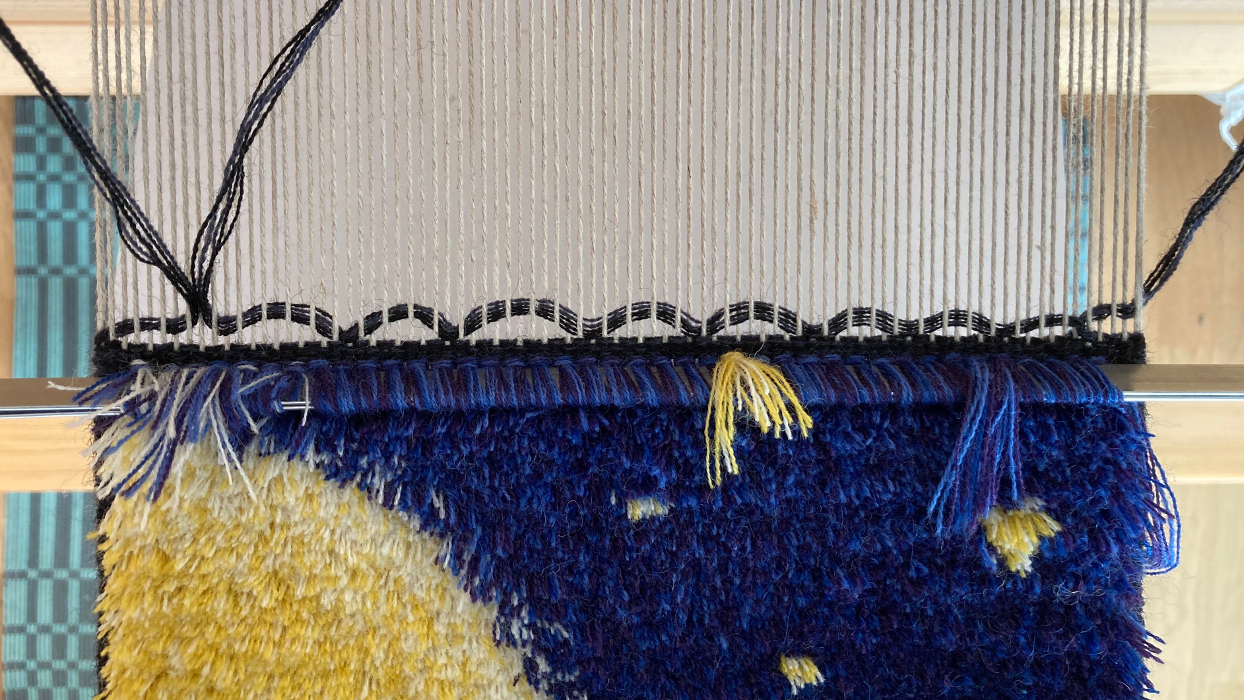
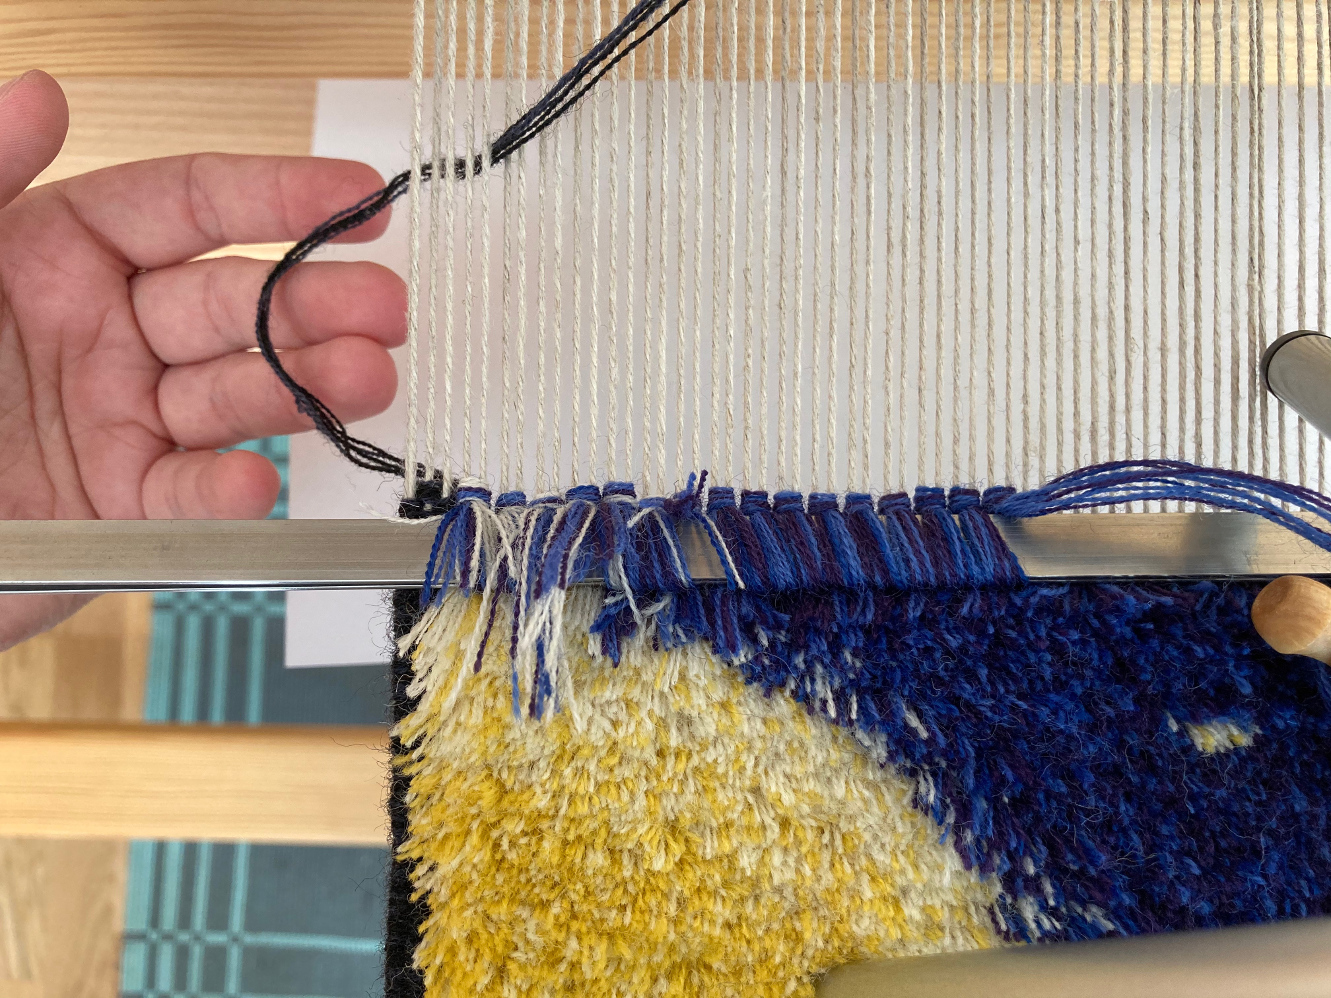
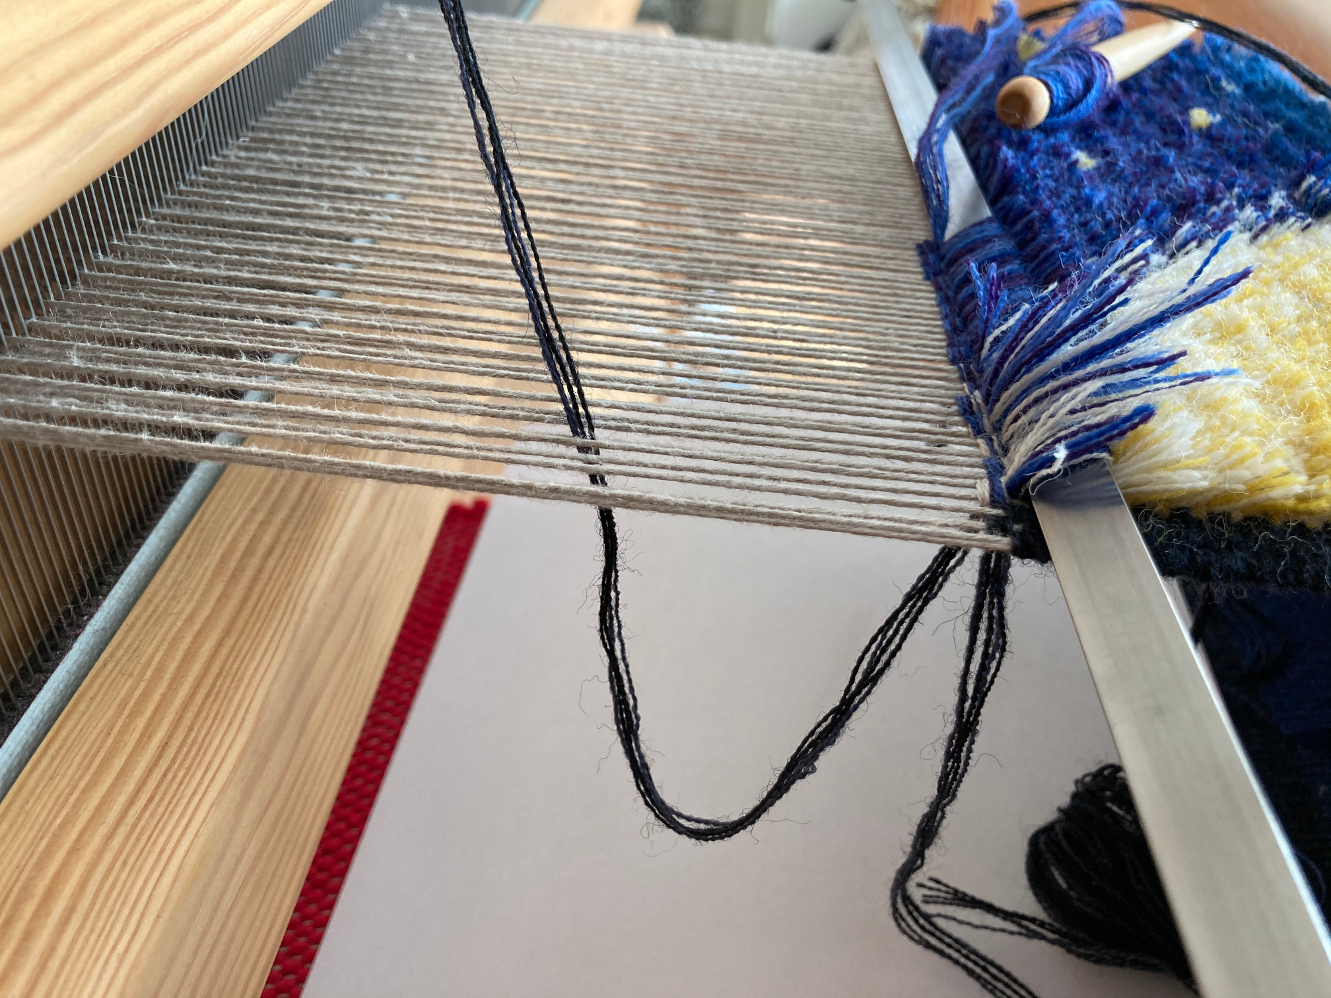
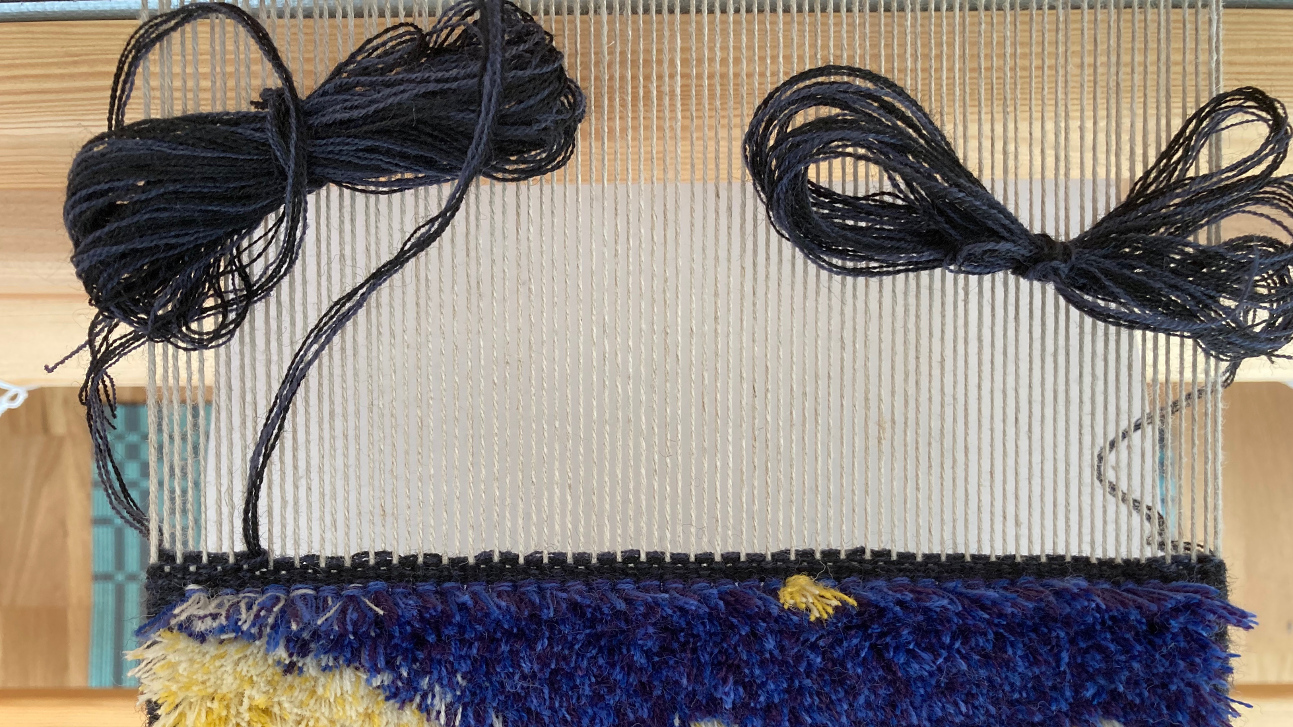
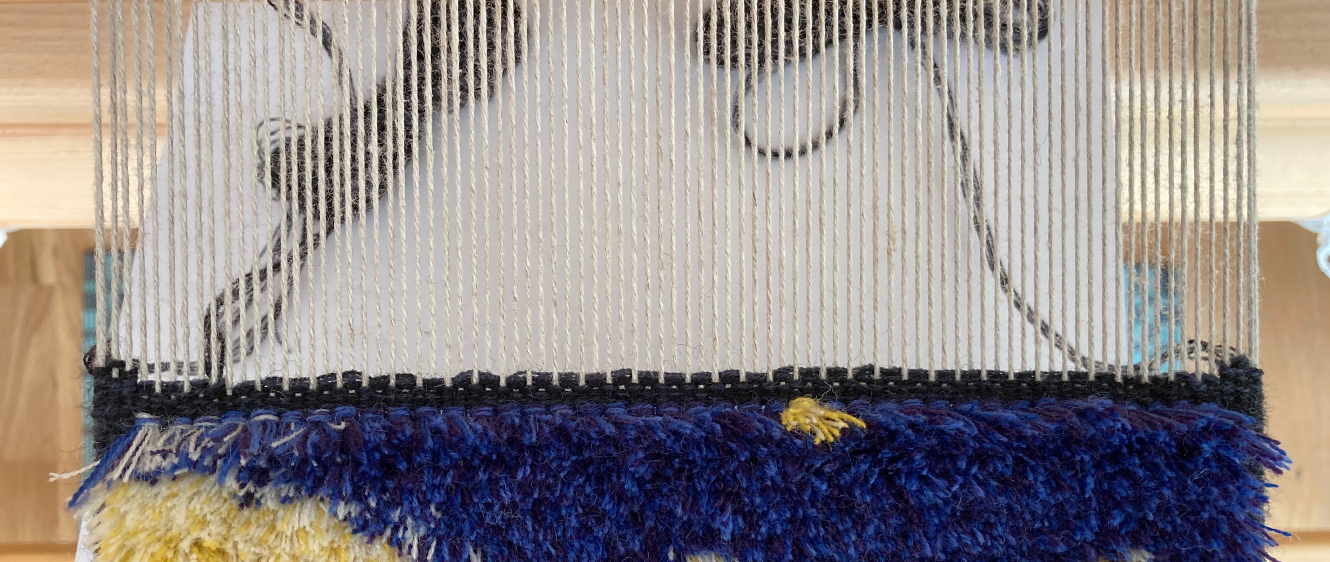
The picture below shows the state of the piece at the end of the ground rows.
Click to go to a full video of the weaving process of a single row (about 12MB, mild camera motion warning).
- Cut the knots, and remove the ruler;
- Knot row selvedges:
- Weave four picks with each selvedge bundle;
- End on the outer edge, under the last warp end, on each side;
- This requires the offset between selvedge bundles to be correct.
- Pull the ground weft loop back down, 3 (1) knots in;
- Make the knots around the ruler, changing colors as necessary.
For easier knotting, the ruler can be hanged from the top of the beater
with a long loop of yarn passed between the plates.
Details of this trick and how to knot efficiently can be found in Att Väva.
Result
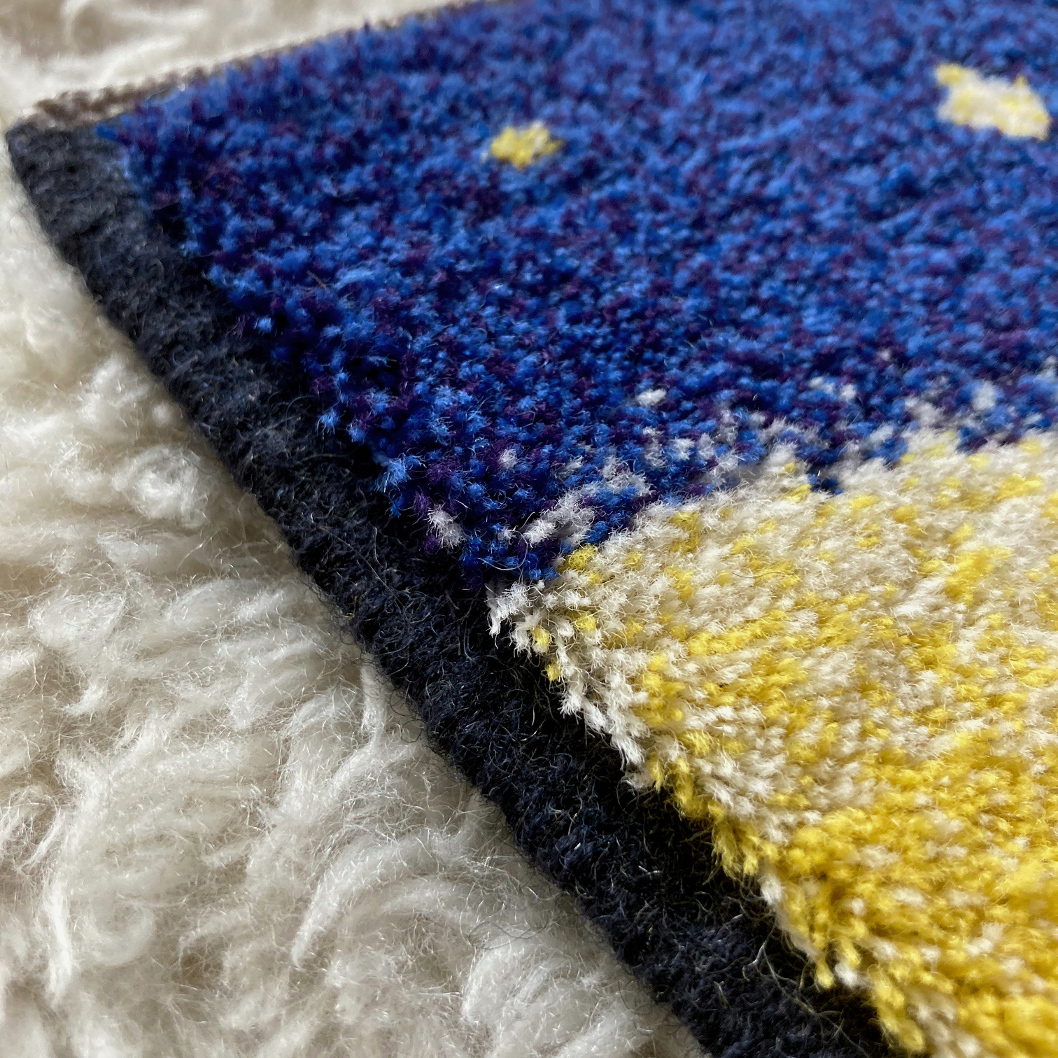
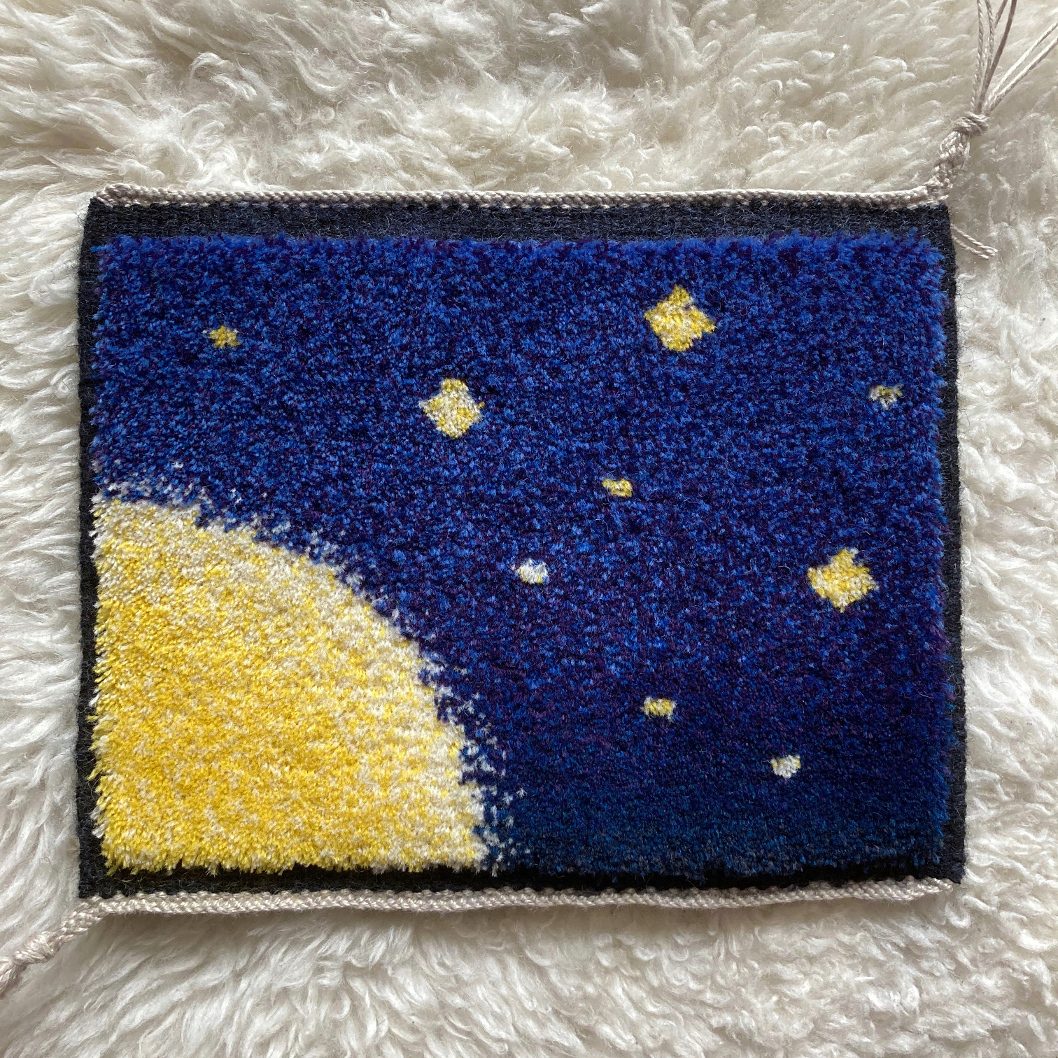
Here's the final result, which I'm calling Celestial.
I braided the warp ends with what Swedish calls an "oriental braid",
trimmed the pile so it is as even as possible,
and gave it a good steaming to fluff up the ends.
I couldn't be happier with it:
it's a beautiful piece, and taught me so much.
References
For more resources on carpet weaving, I recommend:
- If you read Swedish,
"Att Väva"
has a great primer on rya and a decent description of flossa.
- The classics "Handbok i vävning" - found in English as "Manual of Swedish handweaving" -
and "Väv gamla och glömda tekniker" also have some pages on the topic with useful details.
- The authors,
Arianna
and Miriam,
are great weavers of flossa and rya.
- Peter Colingwood's "The techniques of rug weaving" has a section about pile rugs.
See pages 224 and onwards in the version available from the textile archive at the University of Arizona,
starting in part 2 of the book
and continued in part 3.
Apr 30, 2020
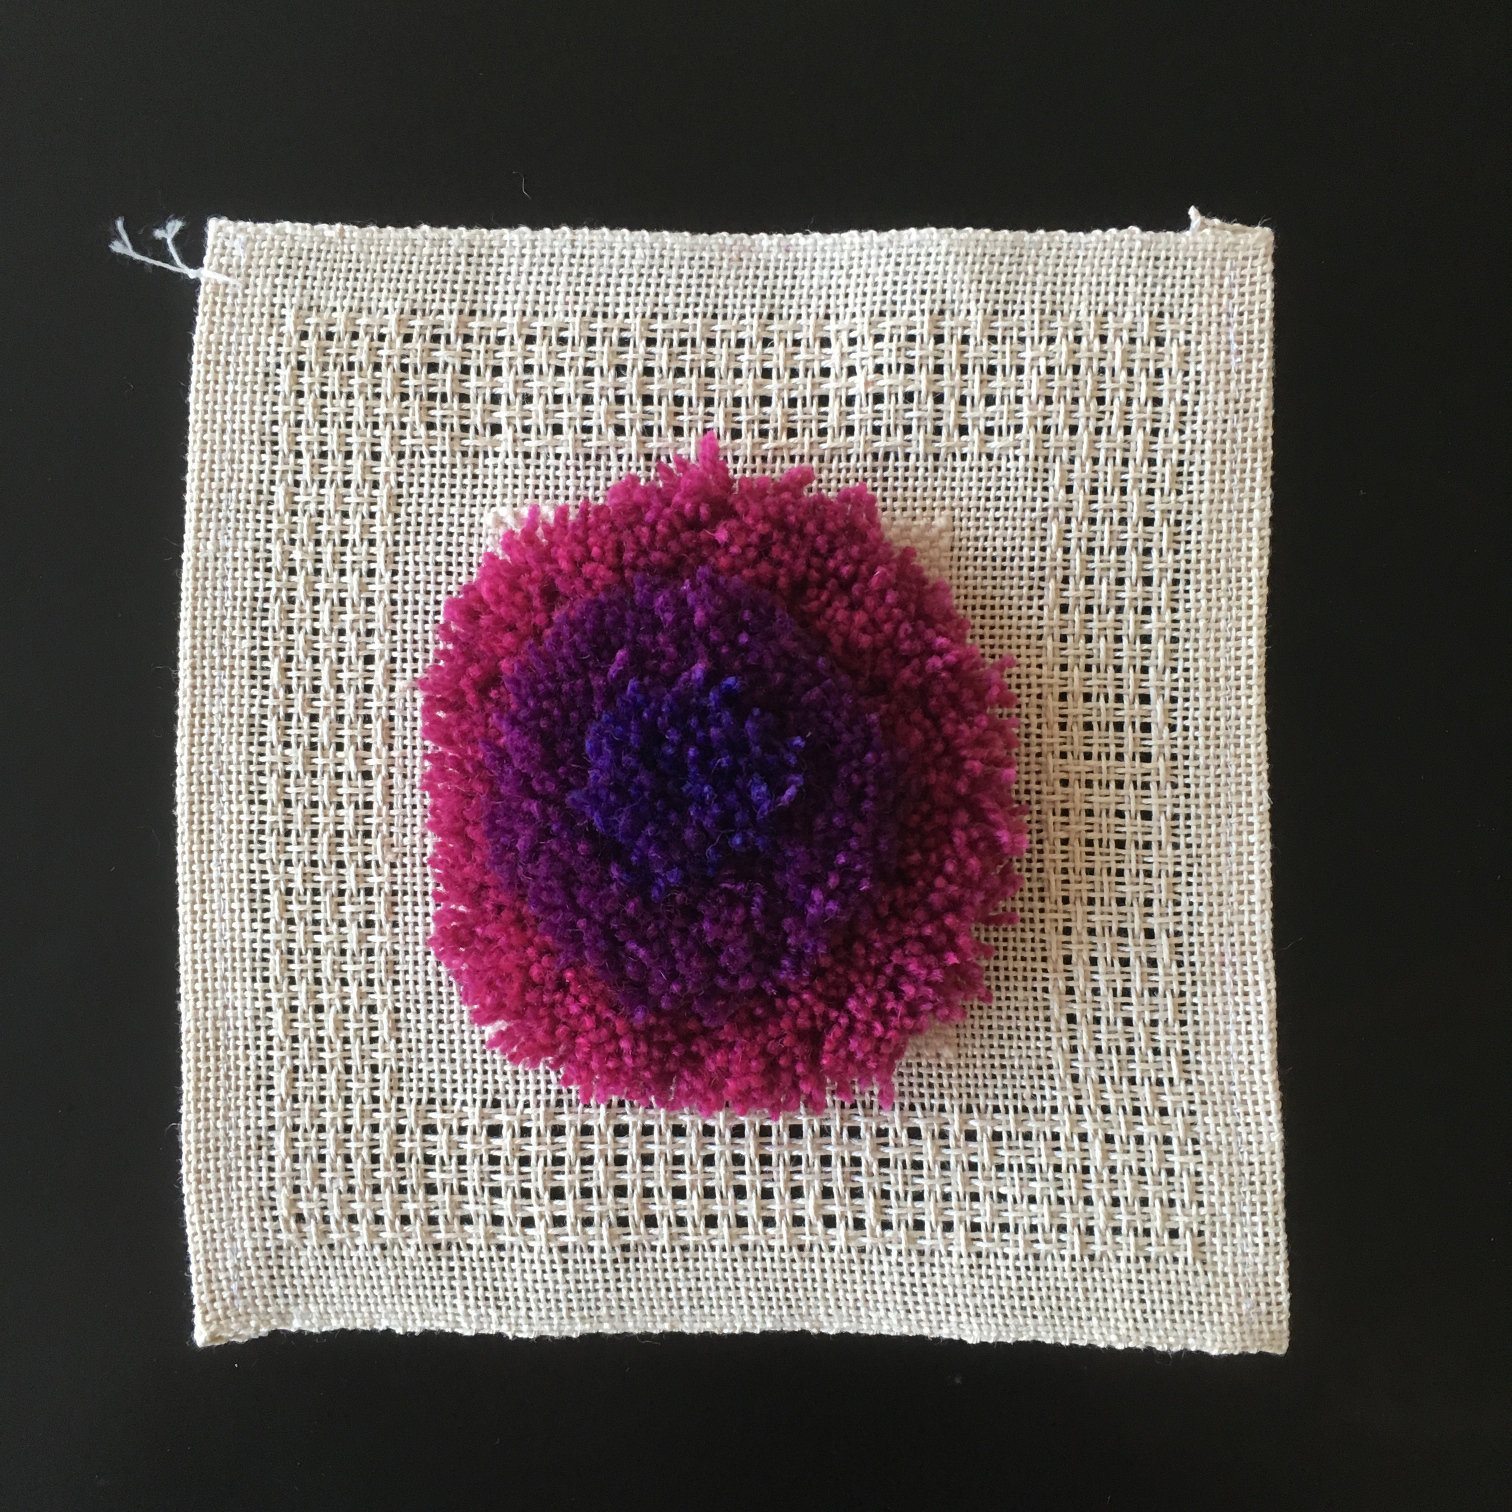
Back at Handarbetes Vänner, I had experimented with creating a frame out of lace weave.
The goal was to test knotted pile and get a piece that didn't need extra finishing,
and it turned out pretty good!
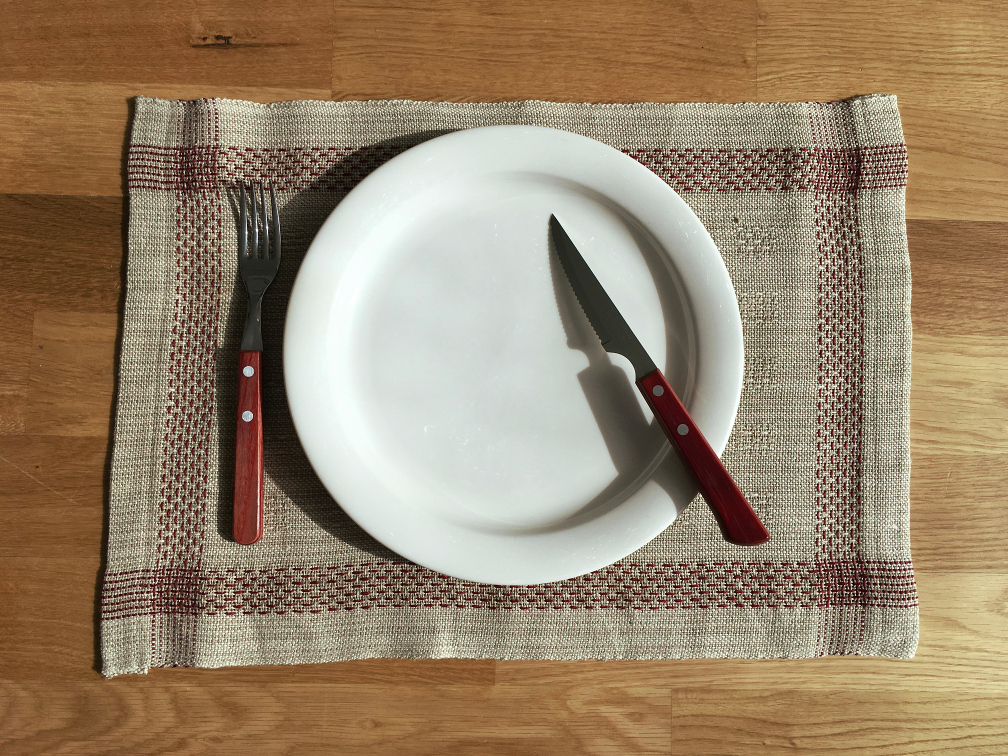
At the end of 2019, I decided to take the idea further,
by layering more frames inside each other.
The result was a similar design but with complex emergent patterns:
this article will specifically discuss the process that lead to the final draft.
Let's first cover the basics:
lace weaves are an entire family of structures derived from plain weave,
that add some floats to create openings in fabric.
Those holes might not be very visible while weaving, and only appear in finishing.
In Swedish, the most basic lace weave is called "stramalj".
The typical stramalj has alternating floats in the warp and the weft,
which creates a lovely tiling of crosses in the draft.
Since this design was going to have areas of either plain weave or lace,
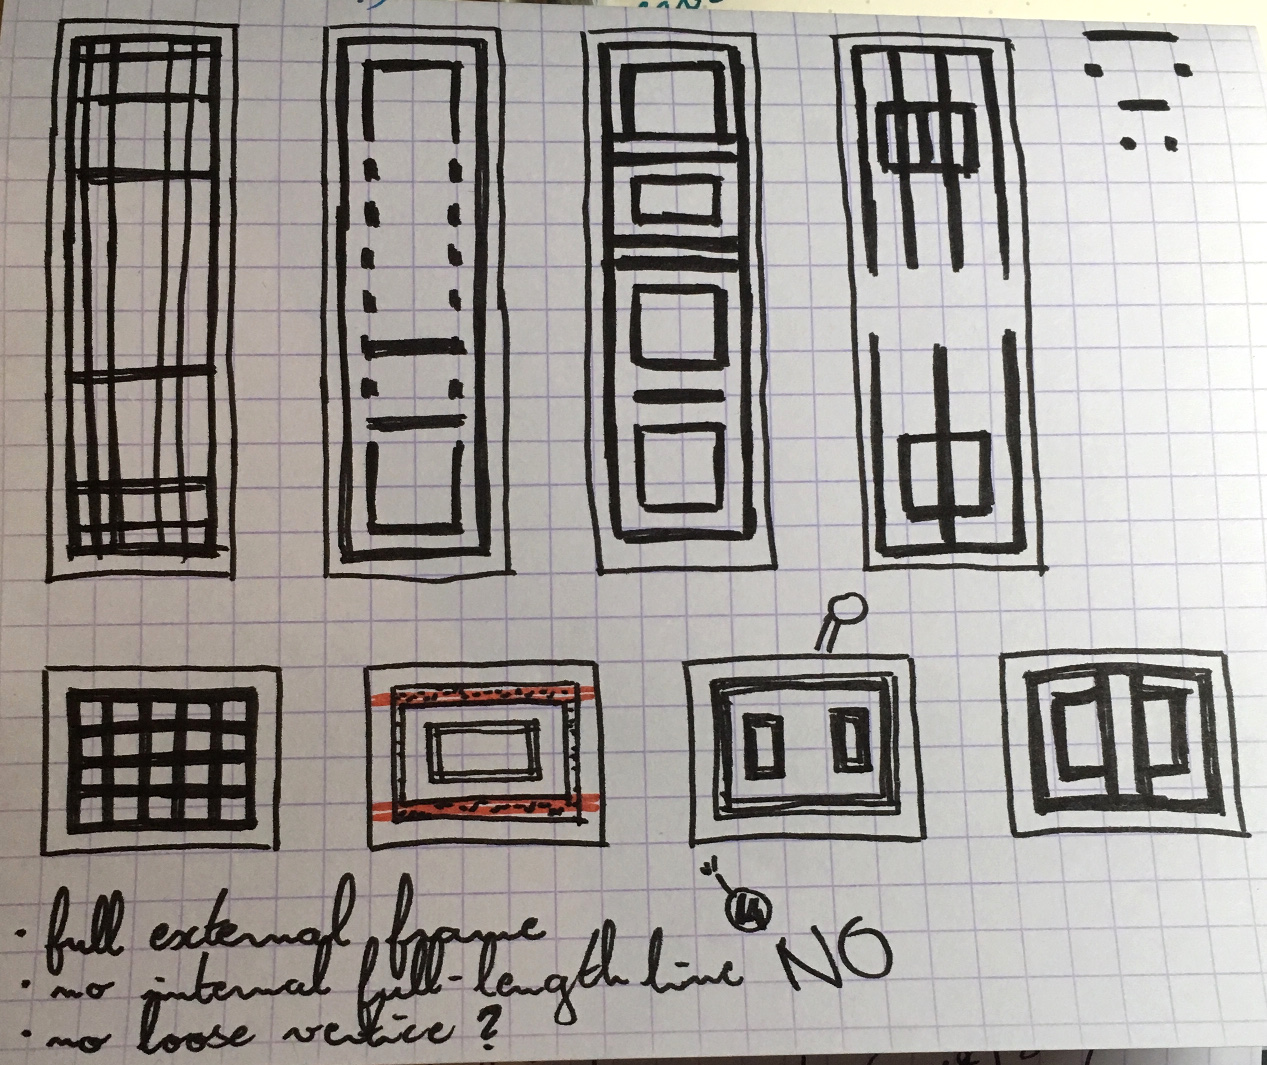
I started sketching in black and white, with black lines representing the lace areas.
I only used vertical and horizontal lines, because that was going to translate to a woven structure more easily.
What emerged was simple shapes: lines, grids, rectangles in rectangles.
I then moved to the computer.
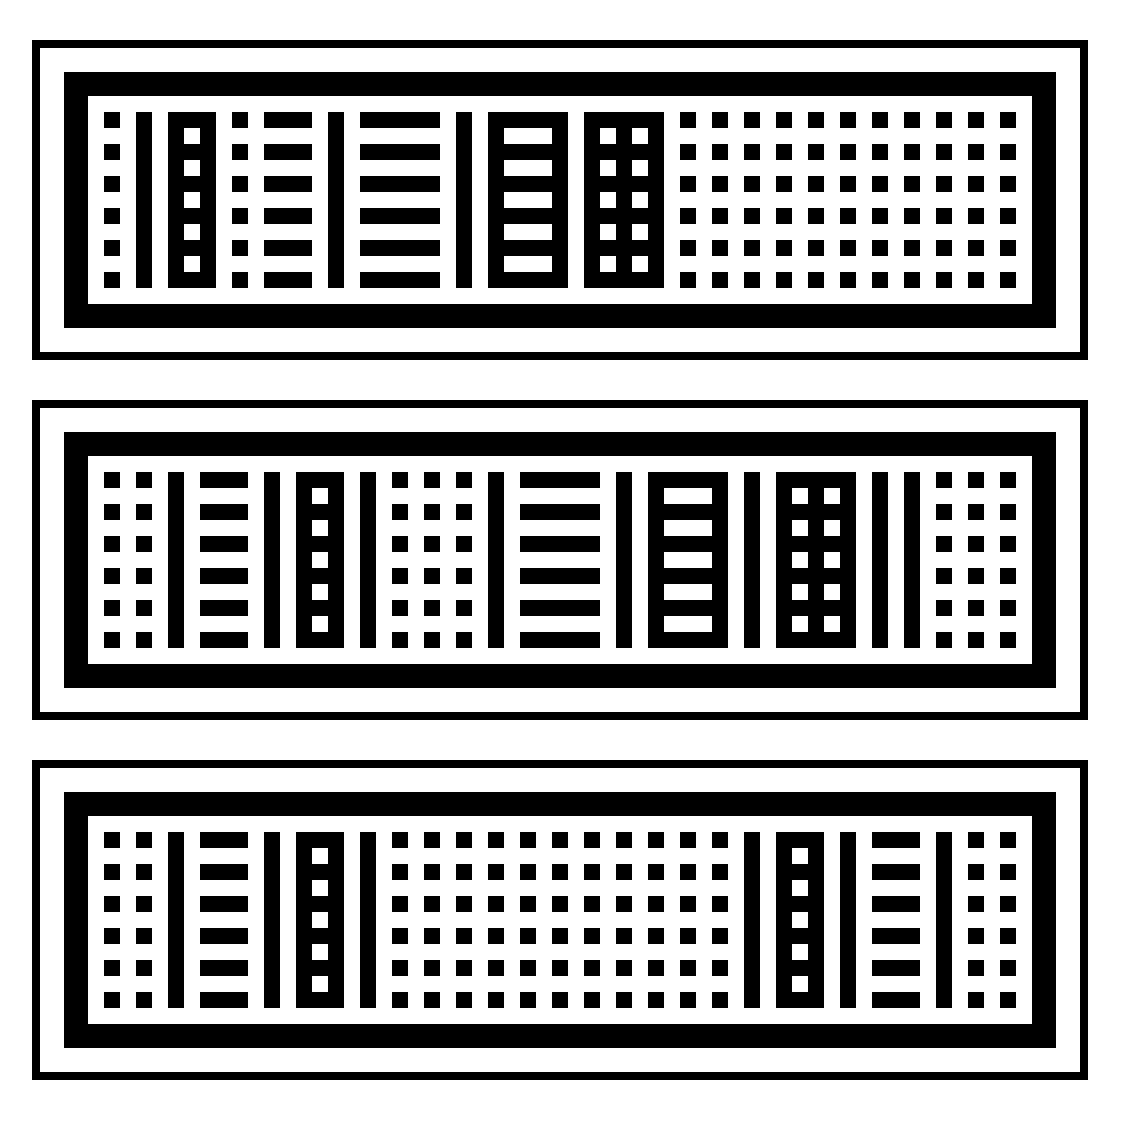
The digital sketches are where I decide scale.
I typically work at a very low resolution, and each pixel represents several threads:
working at that scale makes it easier to see the proportions the finished piece could have.
In this case, a 2x2 pixels block ended up representing a block with 5 lace crosses in it.
I kept doodling, and realized that a grid of dots could provide great variation.
I could leave the dots separated, or connect them into horizontal lines,
or create vertical lines.
This worked out to five building blocks:
- Plain weave only (hems);
- Lace over the entire width except for the outer edges (lace border);
- Lace borders, internal plain weave;
- Lace borders, internal dots;
- Lace borders, internal line.
The next step is to move to weaving software:
I use WeavePoint, specifically the Mini version.
That's where I lay out the exact structure and what every thread does.
In this case, it's also where I figured out how the structure was actually going to work!
Plain weave requires two shafts and two treadles.
Each lace block will use those two treadles, plus two of its own.
Since we have four lace blocks, plus plain weave, that's a total of ten shafts.
The resulting tie-up is optimized for elegance,
and it could use extra tweaking so the left and right foot alternate on each pick.
As it is, each foot will move between a plain weave and a lace treadle.
I wove this using two shades of natural 16/3 linen,
which gives a more rustic result than I would typically go for.
Weaving with thick yarn does come with few gotchas especially when a warp end breaks,
but it's pleasantly fast compared to very thin threads!
Linen generalities apply:
wet the yarn thoroughly before tying a knot,
humidify spools so the yarn will behave at the selvedges,
and spray water on the warp once in a while to keep it happy.
I also used an accent color in the lace border frame, to make it stand out even more.
Those threads were put on bobbins with a method similar to the one explained in the
selvedges
and leno
posts,
both to account for the difference in take-up and to allow for easier color changes during weaving.
The project is described in details in a pattern available as a free download on itch.io.
The document includes all the information you need to make your own version of the project:
materials, calculations, full draft, warp setup, color management and patterning.
PS: This post skips over the technicalities of block weaves.
Cally Booker over at Weaving Space has
a great intro to the topic
if you want something more thorough.

