Figuring out flossa
In Swedish handweaving tradition, hand-knotted carpets run a whole spectrum. They can be somewhat loose with long loops, very tight with short cut pile, or anything in between. The looser end of the scale is called rya, the tighter end is called flossa. They use the same technique and the same knot, but produce very different results.
We'll focus on flossa today, which is the one I'd wanted to test for years. It proved a bit tricky even when cross-referencing several sources: this posts records the extra things I had to figure out or ask people about. As a result, it runs long and contains a ton of schematics. Settle in!
The numbers
Like a good overarchiever fond of fine yarns, I obviously went with something tighter than the traditional Swedish flossa. The typical quality is 15 knots per 10cm in both directions, so I went with 20. My sample warp was as follows:
- 8/3 unbleached linen from Holma;
- 4 ends per centimeter (one end per dent in a 40/10 reed);
- about 3m long, so I could weave a decent amount with both the front and back apron rod out of the way;
- 20cm wide pattern area, 88 threads total: 40x2 for the pattern, 3 for each border, and an extra one to double up the last border warp end.
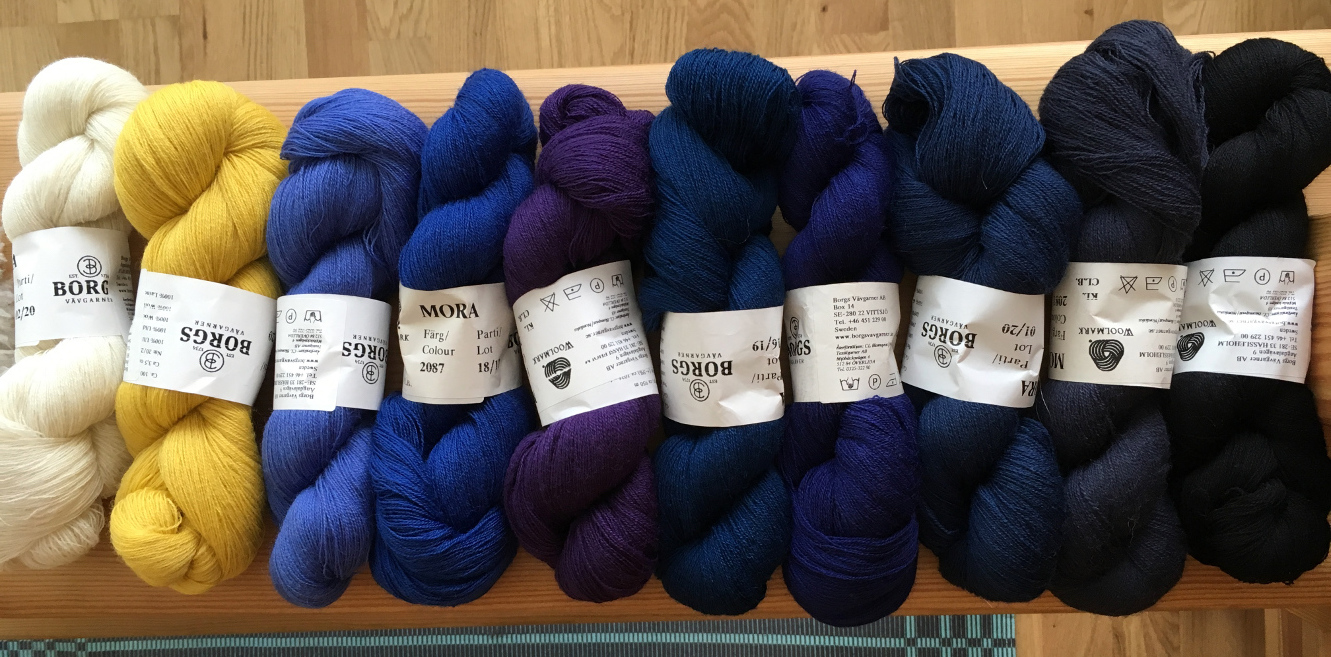
For the weft, I wanted to use some of that dark blue-purple palette I picked up impulsively. All of that is a wool yarn called Mora, which is very thin and soft. Because it's so thin, I had to group several strands into larger bundles, which would let me play with color a lot more. After much testing, I ended up with:
- 5 strands per bundle for both the ground and selvedges wefts (for consistency and a more homogeneous back);
- 10 strands per bundle for the knotted pile, resulting in 20 ends per knot.
Finally, to get perfectly square "pixels", I needed to figure out exactly how many picks of ground needed to be woven betwen knot rows. That ended up being:
- 6 rows of ground between knots;
- 4 rows of selvedge to create the "holder" for the knots.
Basics
The ground weave holds the knots in place, and gives structure to the piece. It's woven with classic tapestry technique: plain weave, high warp tension, and a weft that covers the warp fully. This means the weft has to do all the work, traveling more around the warp ends, and needs extra slack to make up for it. If it doesn't have that extra slack, the warp will draw in. On a loom without a beater, that will make the edges of the piece curve in, resulting in a typical hourglass shape.
On a loom with a beater, as I was using here, that will cause the warp to get damaged by the friction of the reed. Because I was weaving dark colors on a light warp, the damage showed as broken linen fibers poking out through the wool! Finding the right amount of bubbles to make and how big they should be takes a bit of trial and error: always leave room at the start of your warp for sampling. I used a tapestry bobbin to make the bubbles, since my sett was high and doing it with my fingers was tricky.
Next is the pile. The most common knot is known as rya or Ghiordes knot. It's made over two warp threads, with the ends of the pile bundle coming up between those two threads. There are other knots one can use to get special effects or a higher density: see the references at the end of the page.
I used tapestry bobbins again, because my yarn butterflies always come undone. I also find bobbins much easier to wrangle, but that's a personal preference!
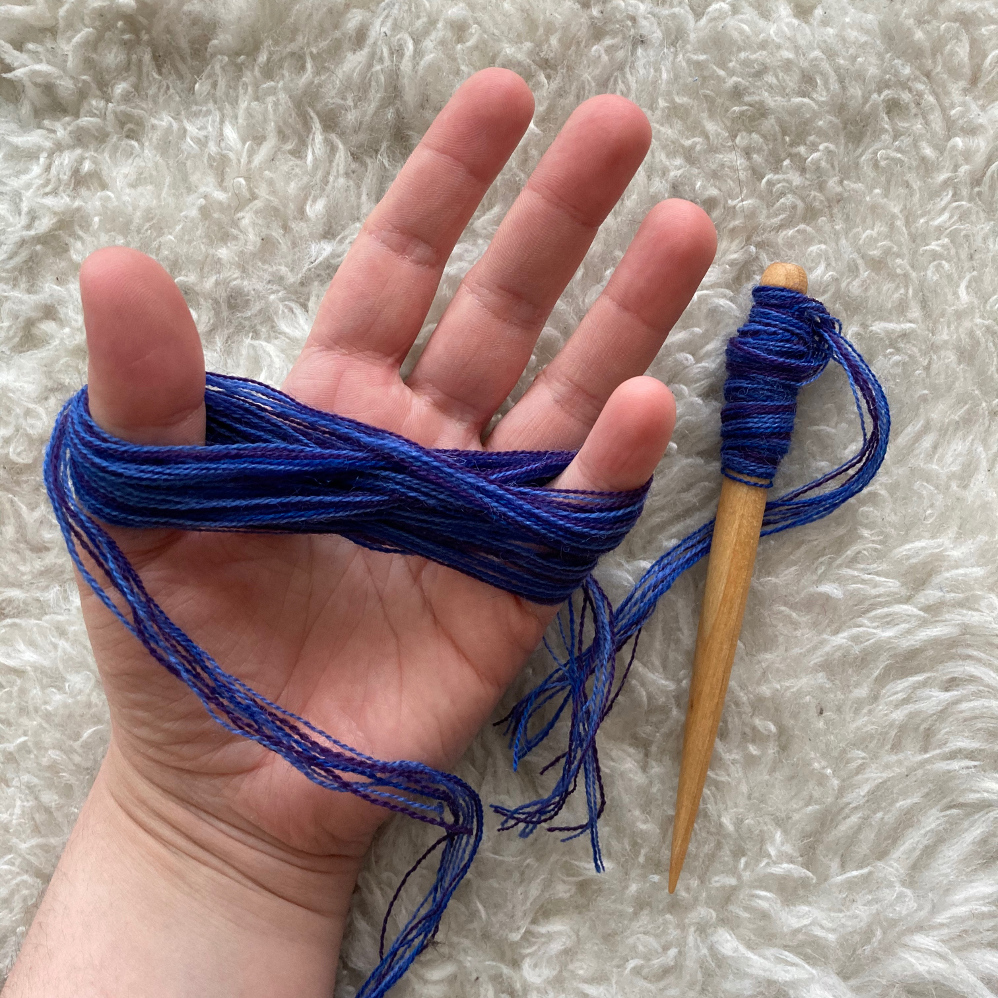
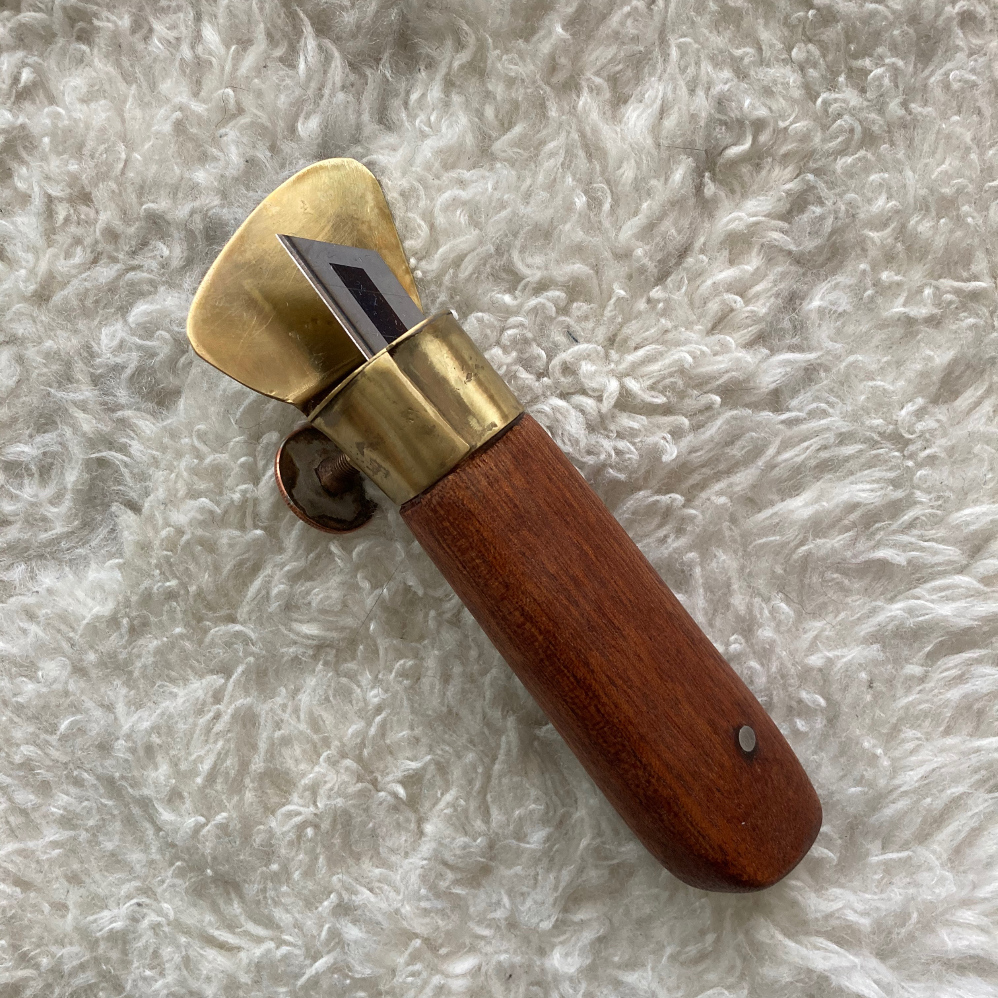
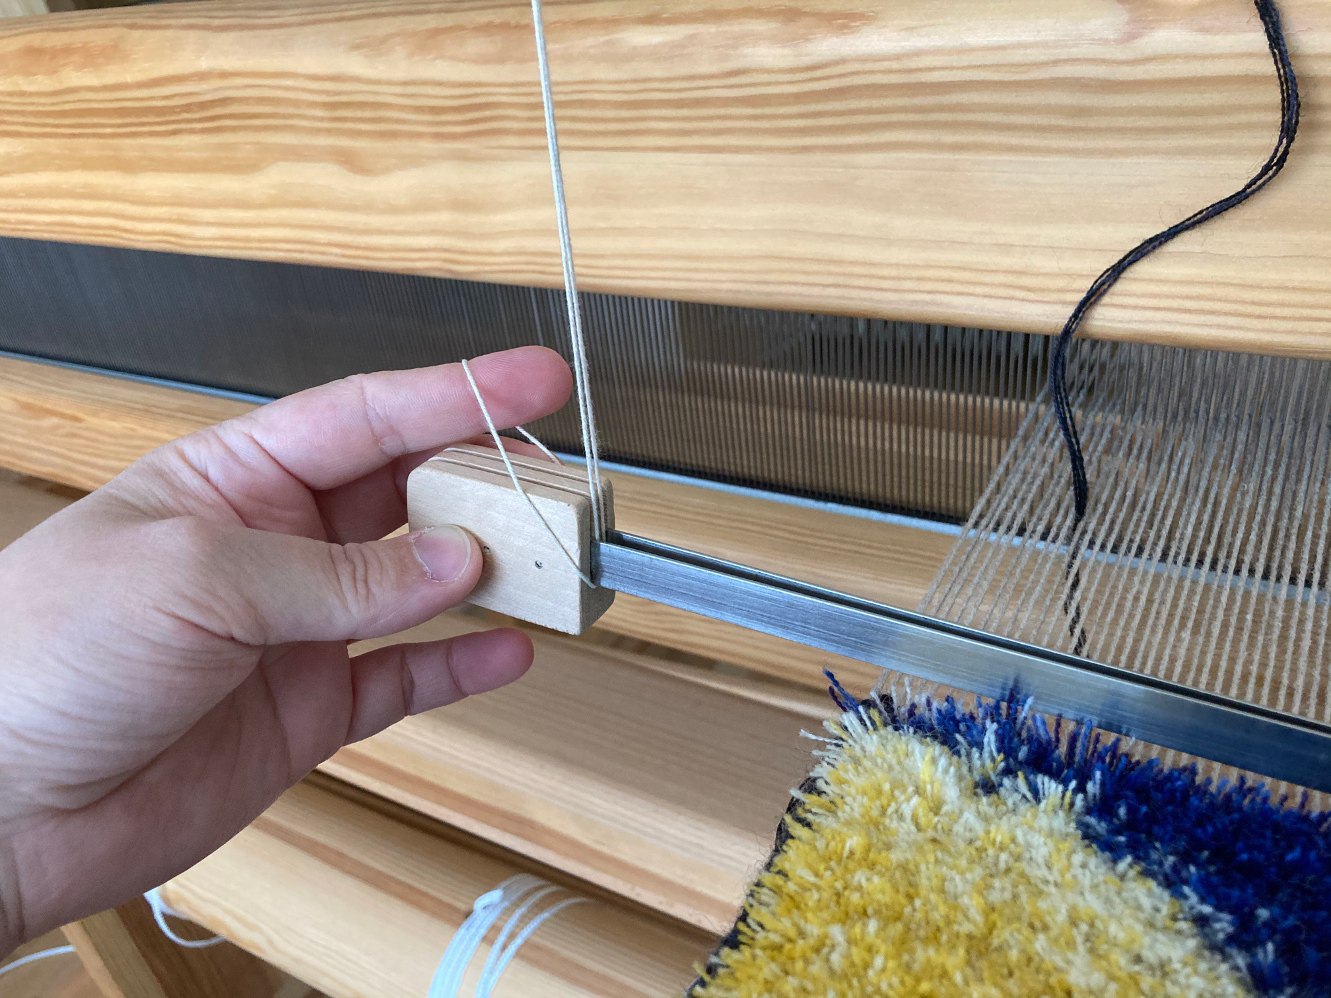
To get an even pile length a bit more easily, the knots can be made around a "flossa ruler", which consists of two long, thin metal plates held together. The height of the ruler will be the height of the pile, whether it's left as loops or cut. A blade can then be ran between the plates to cut the pile, and there is a special flossa knife with a protection plate to avoid cutting too deep. But none of those tools are necessary: you can make loops around your fingers for consistency, and cut them open with scissors.
Complications
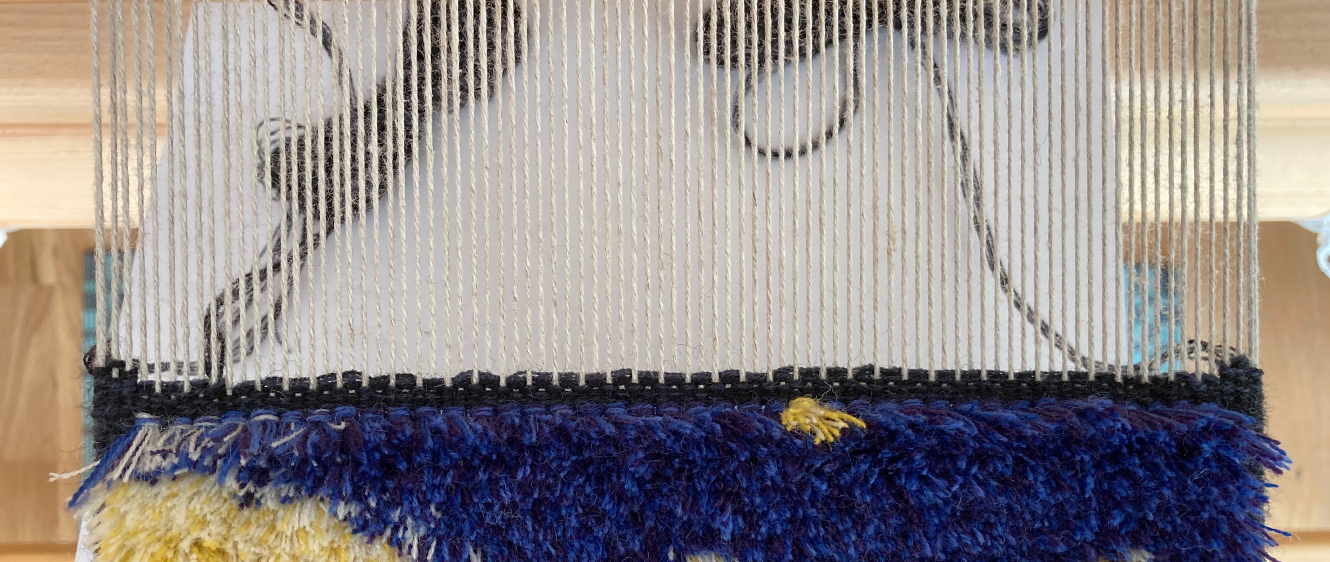
Things got complicated due to the selvedges. The pile will not go all the way to the edges of the piece, meaning they need to be built up separately to keep things lined up. There are a lot of different ways to tackle them: I kept it simple, and wove the three edge threads in plain weave. In Swedish, that's called a "platt kantsnärjning", flat selvedge. As suggested by Att Väva - see references - I gave each side its own yarn bundle.
But those selvedges aren't the whole picture: there is also a ground weft, generally much cheaper yarn, that is woven between the rows of knots to keep them in place. How this ground weft interacts with the selvedges can vary a lot, but it needs to interlock or overlap in some way to avoid creating gaps. Again Att Väva gave pointers, but a few things remained unclear. And no book I could find explained them quite enough! Luckily, Arianna, one of the authors of Att Väva, answered my (numerous) questions, and I was able to put something together.
Solutions
The first thing I figured out when testing is that "meet and separate" very much applies. That's a ground principle of tapestry weaving, which dictates that wefts are always started and ended together or at the edges, and have to "meet" each other when they change direction on the same pick.
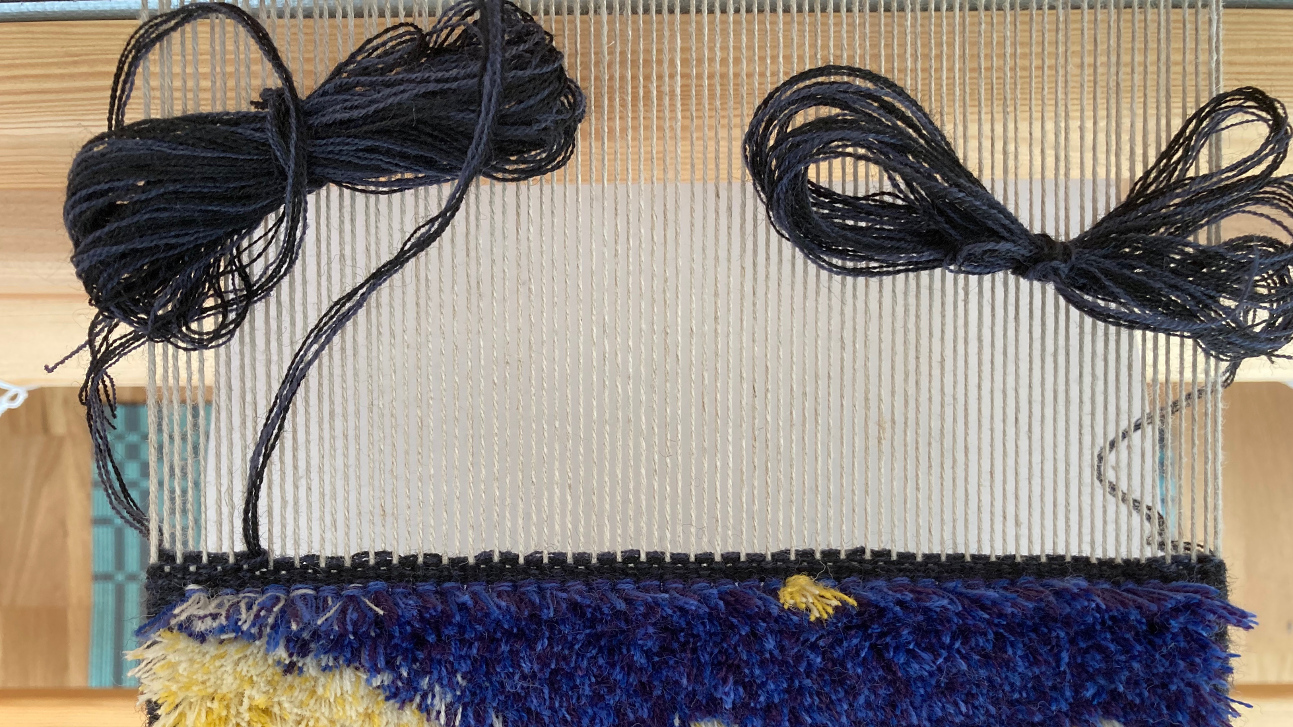
How does that affect the selvedge wefts? Because they both have to meet the ground neatly, they need to be offset to obey meet and separate. Att Väva actually contains a hint to this when it says both selvedges bundles need to hang under the last warp thread: because the warp end count is an even number, that's only possible if they are offset. That means that they both weave towards the left, or towards the right, but never "inwards" or "outwards" at the same time. Note how the left selvedge weft weaves five times instead of four at the start, and ends up one pick ahead of the right selvedge weft.
Next, we need to interlock the selvedges and the ground. Att Väva suggests pushing the selvedge bundle further in, interlocking the wefts as you would in rölakan, and alternating how far in it goes - 1, 2, 3 knots' worth - so the extra bulk is distributed over the width.
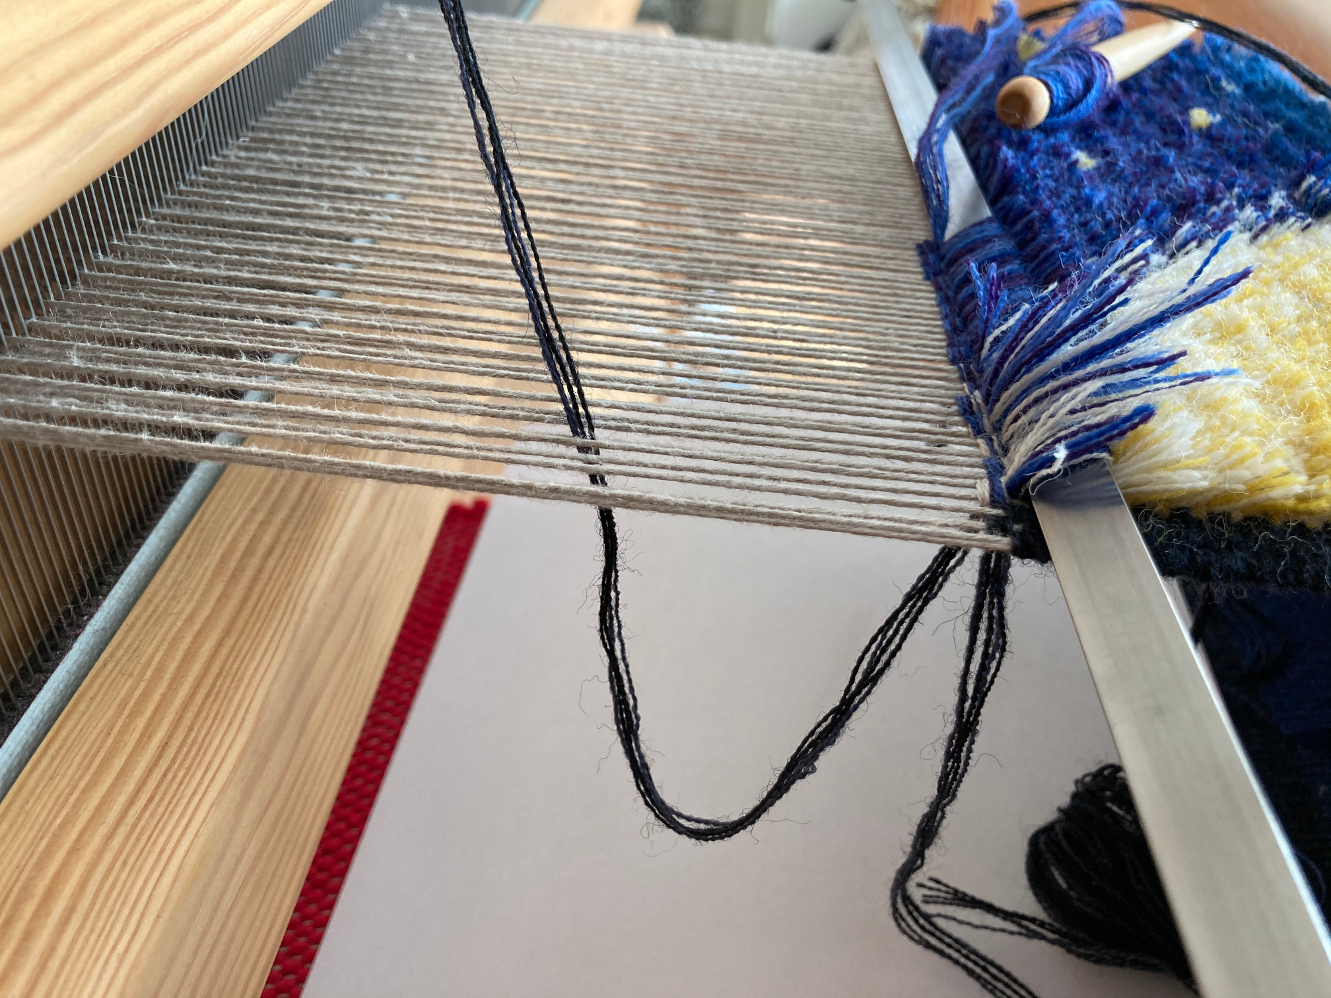
That left the last piece of the puzzle: how does the ground weft go between knot rows? Because due to the interlocking, it's not on the edge anymore, and has to go between the knots as they're being made. Arianna thankfully had an answer to that question: just pull a loop of the ground weft between the warp ends, and put the shuttle / bundle out of the way on the beater or right beyond it. That way, the ground weft does not interfere with the knotting, and is still in the right place once it needs to be used again.
Putting it all together
My sample had 6 picks of ground to hit exactly 5mm per knot row. This means the whole 1 - 2 - 3 sequence happened once per ground sequence, and got flipped in the next section.
The weaving therefore had the following steps, starting right after a knot row is complete. The number of knots under which to interlock alternated every other repeat.
- Beat the knots in place;
- Pull the ground weft loop back up, 1 (3 on the alternate repeat) knots in;
- Row 1:
- Ground towards the right;
- Right selvedge towards the left;
- Stop 3 (1) knots in.
- Row 2:
- Interlock and weave right selvege towards the right;
- Weave left selvedge towards the right;
- Stop 1 (3) knots in;
- Weave ground towards the left;
- Stop 1 (3) knots in.
- Row 3:
- Interlock and weave left selvege towards the left;
- Weave right selvedge towards the left;
- Stop 2 (2) knots in;
- Weave ground towards the right;
- Stop 2 (2) knots in.
- Row 4:
- Interlock and weave right selvege towards the right;
- Weave left selvedge towards the right;
- Stop 2 (2) knots in;
- Weave ground towards the left;
- Stop 2 (2) knots in.
- Row 5:
- Interlock and weave left selvege towards the left;
- Weave right selvedge towards the left;
- Stop 1 (3) knots in;
- Weave ground towards the right;
- Stop 1 (3) knots in.
- Row 6:
- Interlock and weave right selvege towards the right;
- Weave left selvedge towards the right;
- Stop 3 (1) knots in;
- Weave ground towards the left;
- Stop 3 (1) knots in.
- Row 7:
- Interlock and weave left selvege towards the left;
- This corrects for the offset between selvedge bundles.
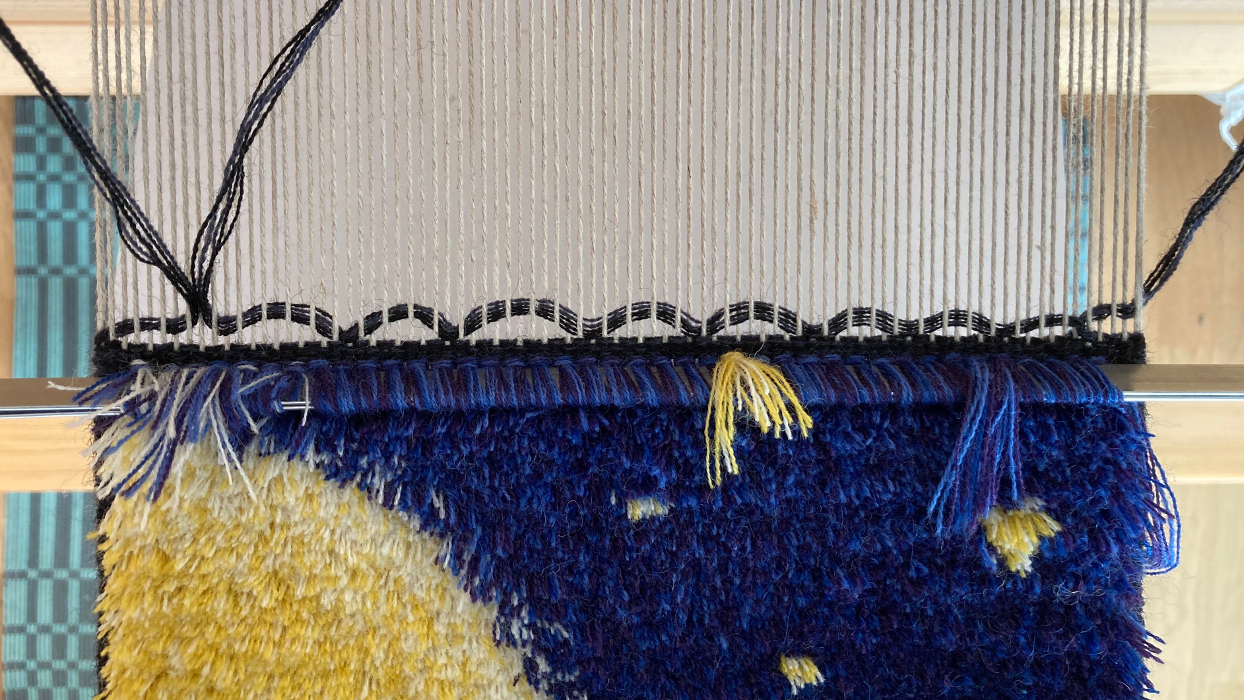
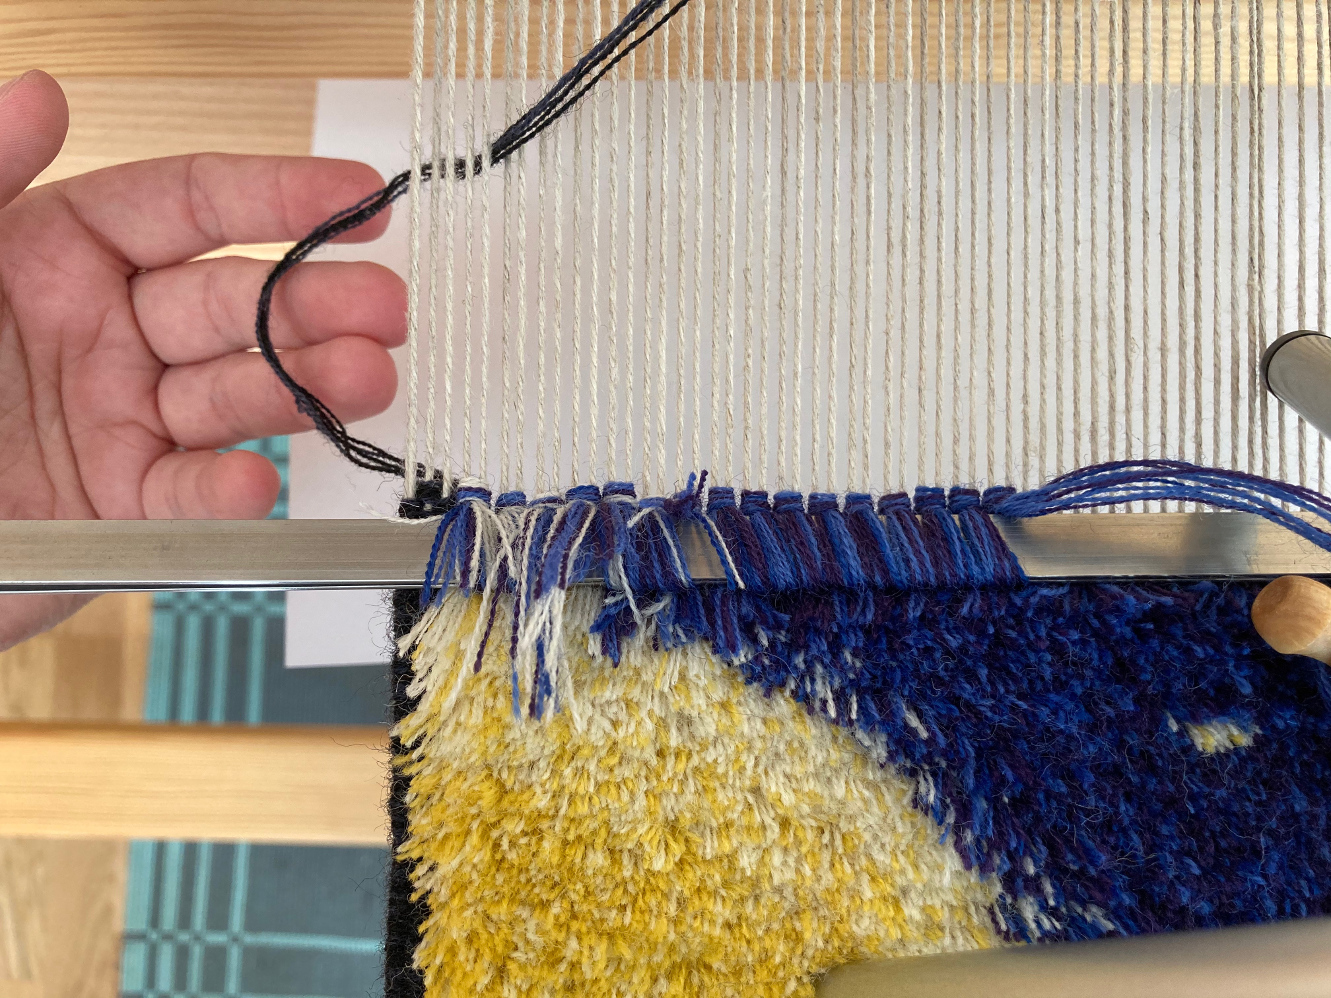
The picture below shows the state of the piece at the end of the ground rows. Click to go to a full video of the weaving process of a single row (about 12MB, mild camera motion warning).
- Cut the knots, and remove the ruler;
- Knot row selvedges:
- Weave four picks with each selvedge bundle;
- End on the outer edge, under the last warp end, on each side;
- This requires the offset between selvedge bundles to be correct.
- Pull the ground weft loop back down, 3 (1) knots in;
- Make the knots around the ruler, changing colors as necessary.
For easier knotting, the ruler can be hanged from the top of the beater with a long loop of yarn passed between the plates. Details of this trick and how to knot efficiently can be found in Att Väva.
Result
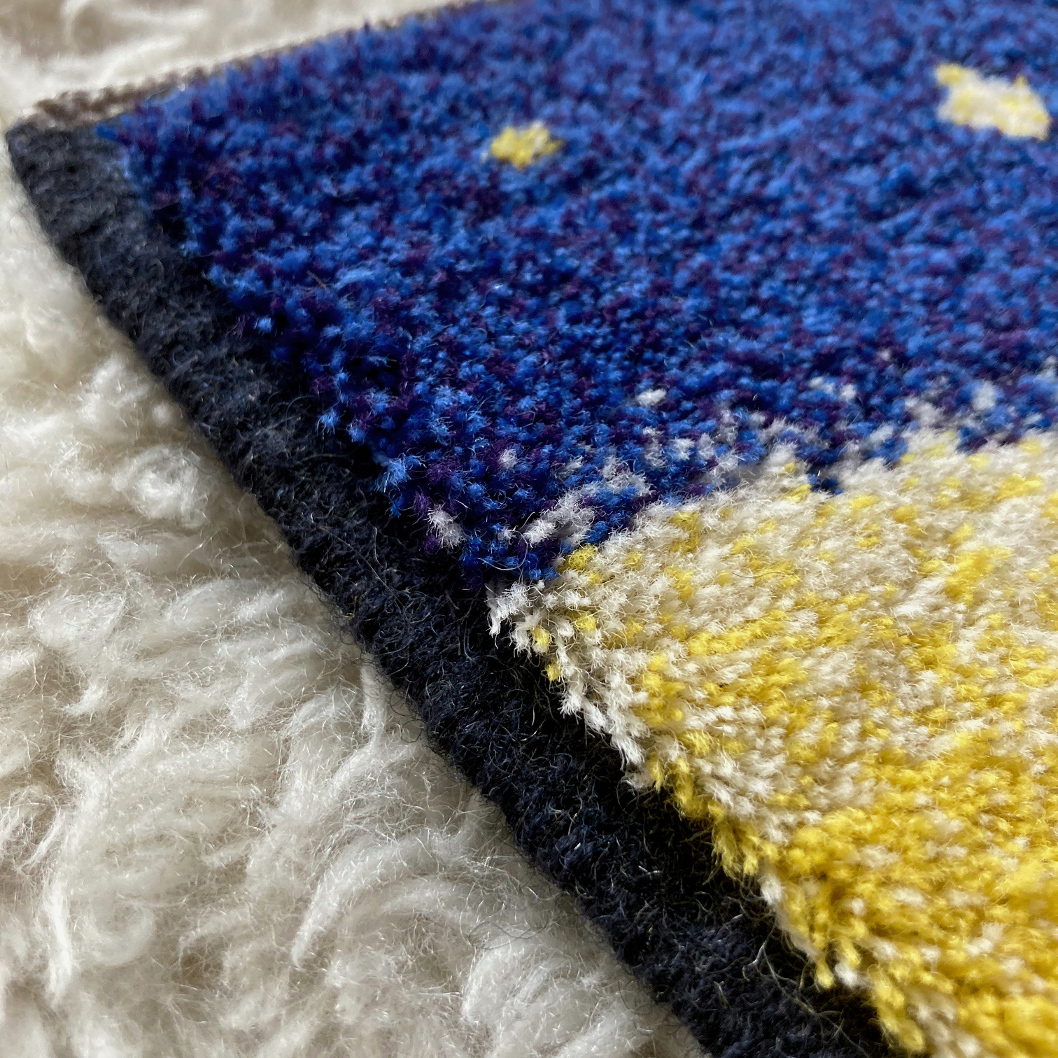
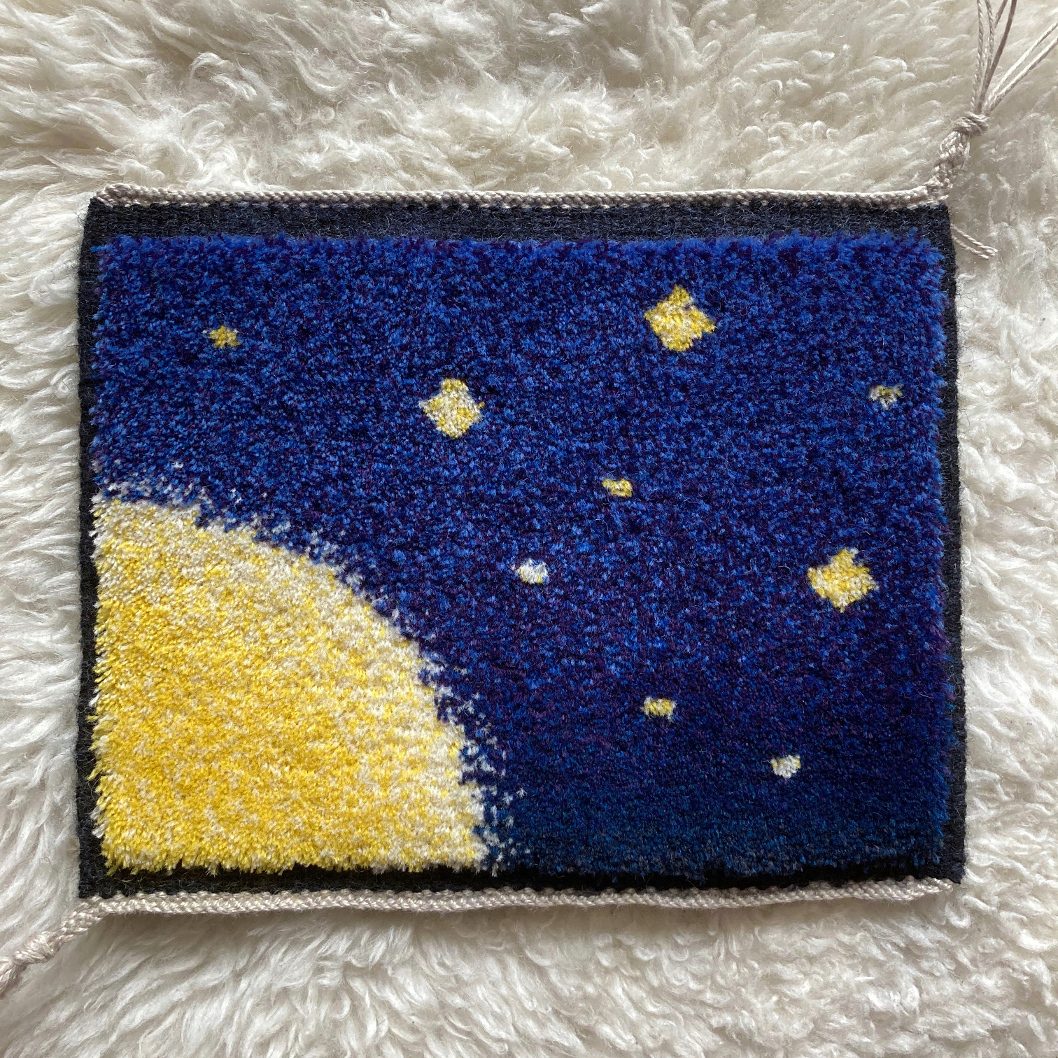
Here's the final result, which I'm calling Celestial. I braided the warp ends with what Swedish calls an "oriental braid", trimmed the pile so it is as even as possible, and gave it a good steaming to fluff up the ends. I couldn't be happier with it: it's a beautiful piece, and taught me so much.
References
For more resources on carpet weaving, I recommend:
- If you read Swedish, "Att Väva" has a great primer on rya and a decent description of flossa.
- The classics "Handbok i vävning" - found in English as "Manual of Swedish handweaving" - and "Väv gamla och glömda tekniker" also have some pages on the topic with useful details.
- The authors, Arianna and Miriam, are great weavers of flossa and rya.
- Peter Colingwood's "The techniques of rug weaving" has a section about pile rugs. See pages 224 and onwards in the version available from the textile archive at the University of Arizona, starting in part 2 of the book and continued in part 3.
