Weaving lace the hard way
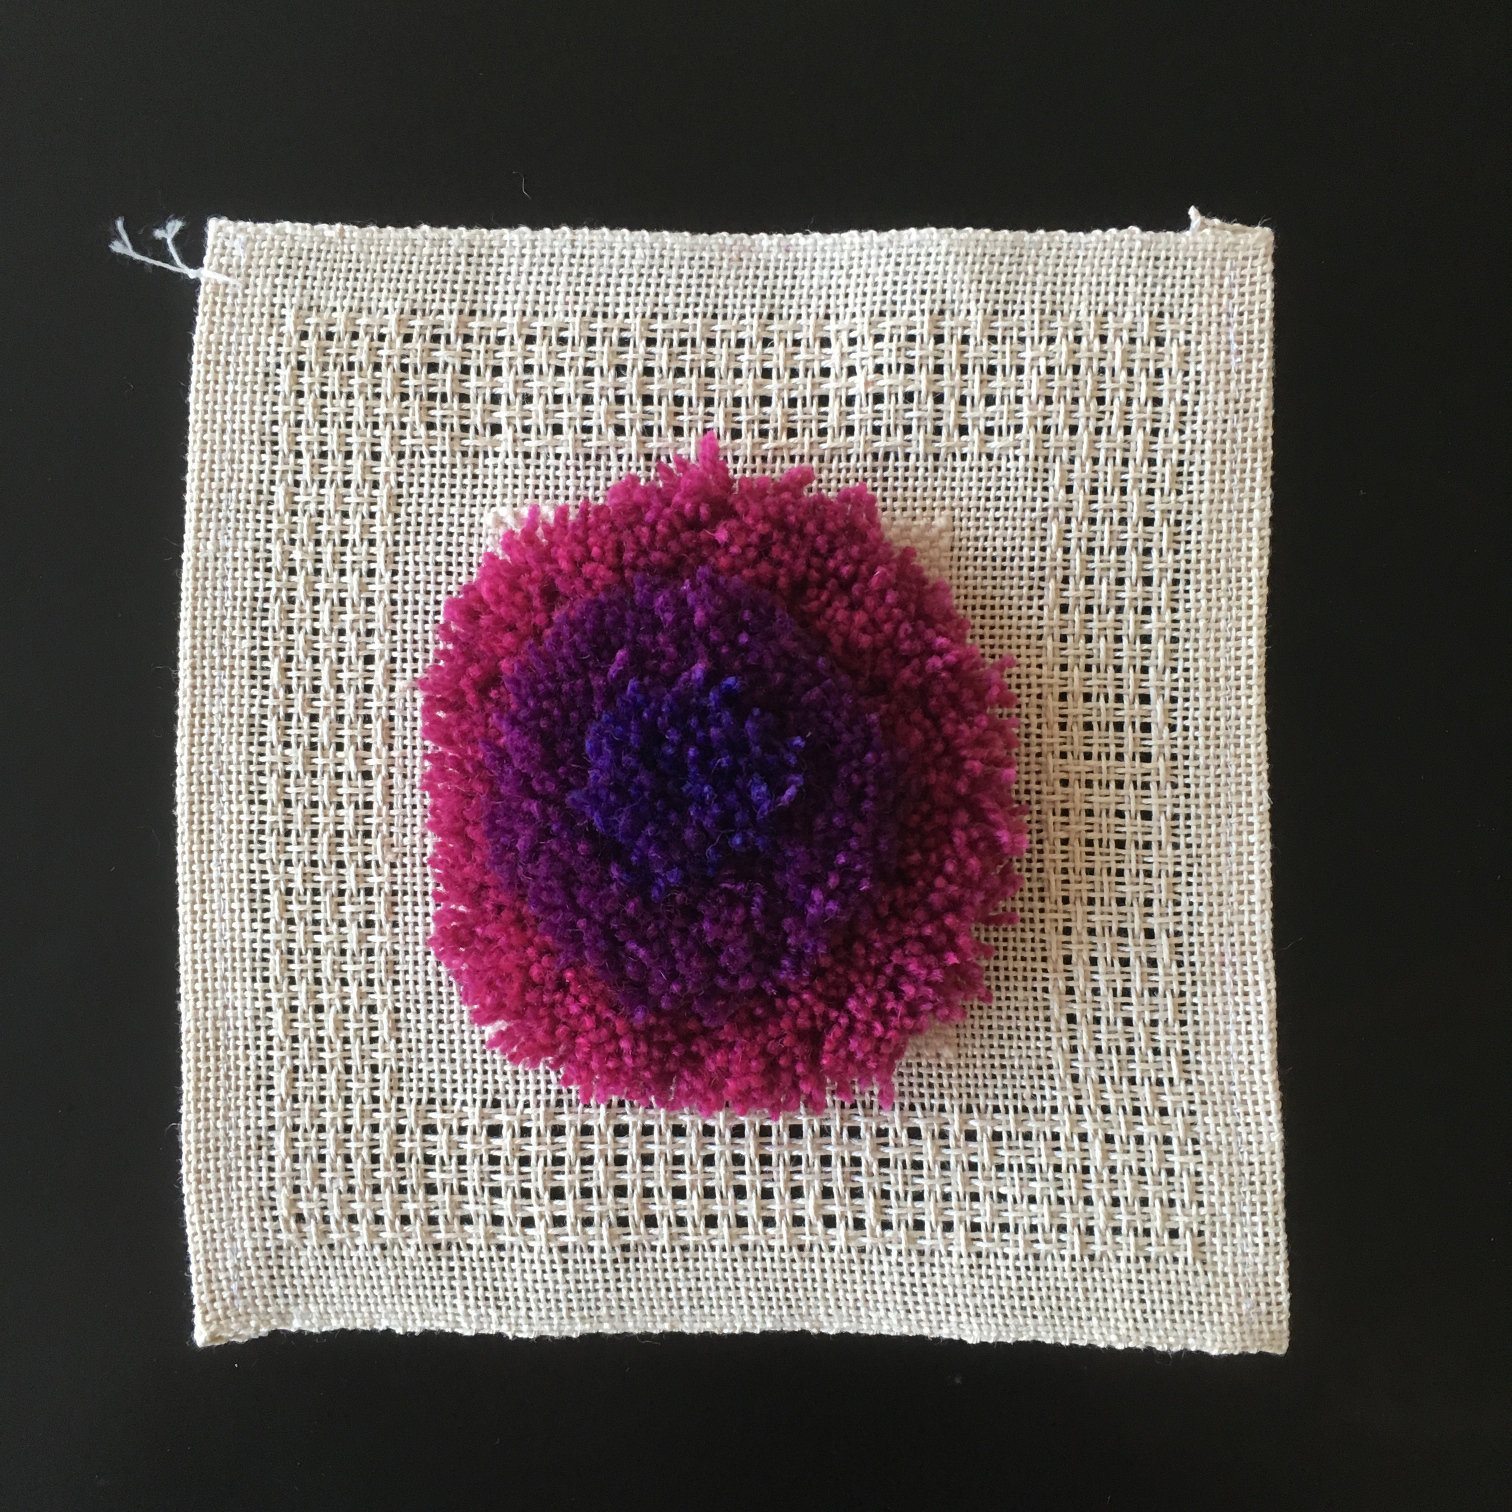
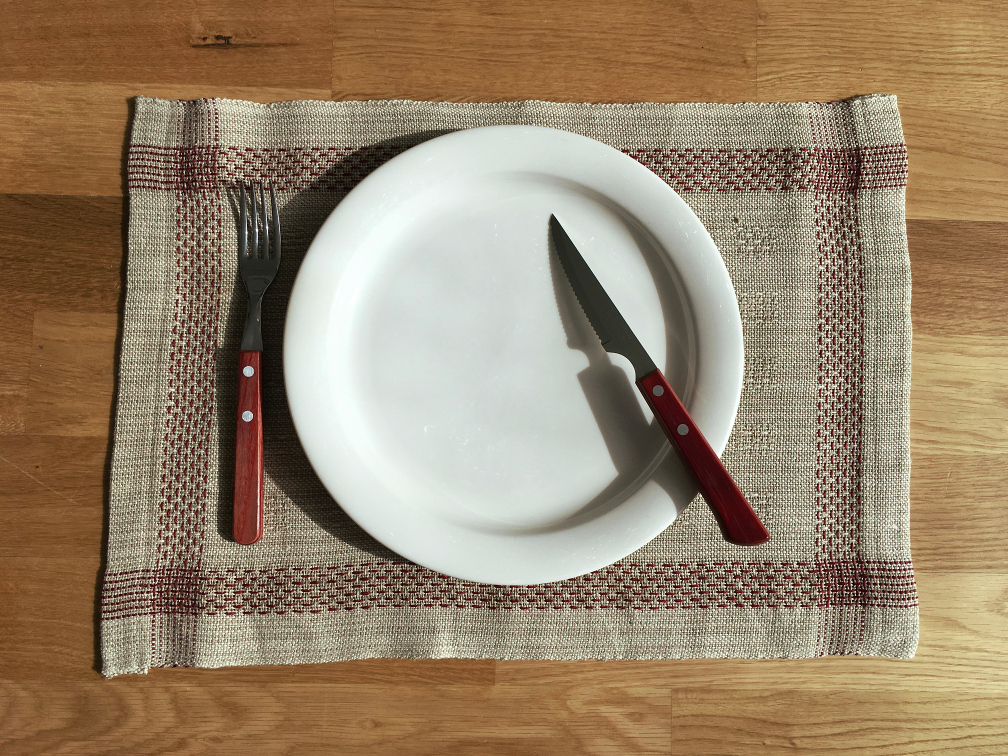
Back at Handarbetes Vänner, I had experimented with creating a frame out of lace weave. The goal was to test knotted pile and get a piece that didn't need extra finishing, and it turned out pretty good! At the end of 2019, I decided to take the idea further, by layering more frames inside each other. The result was a similar design but with complex emergent patterns: this article will specifically discuss the process that lead to the final draft.
Let's first cover the basics: lace weaves are an entire family of structures derived from plain weave, that add some floats to create openings in fabric. Those holes might not be very visible while weaving, and only appear in finishing. In Swedish, the most basic lace weave is called "stramalj". The typical stramalj has alternating floats in the warp and the weft, which creates a lovely tiling of crosses in the draft.
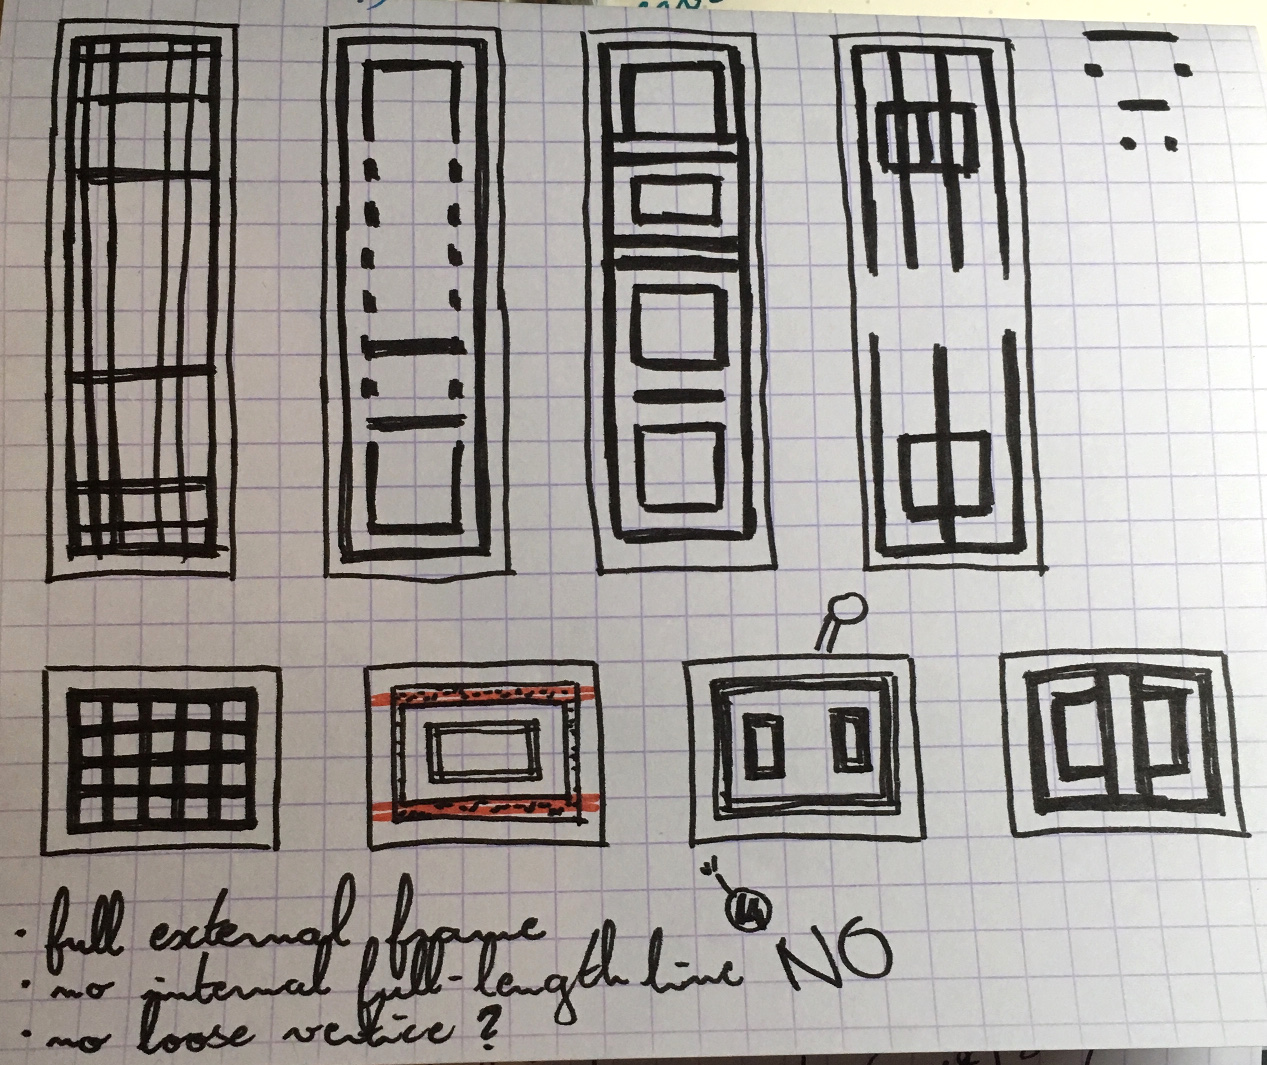
Since this design was going to have areas of either plain weave or lace, I started sketching in black and white, with black lines representing the lace areas. I only used vertical and horizontal lines, because that was going to translate to a woven structure more easily. What emerged was simple shapes: lines, grids, rectangles in rectangles. I then moved to the computer.
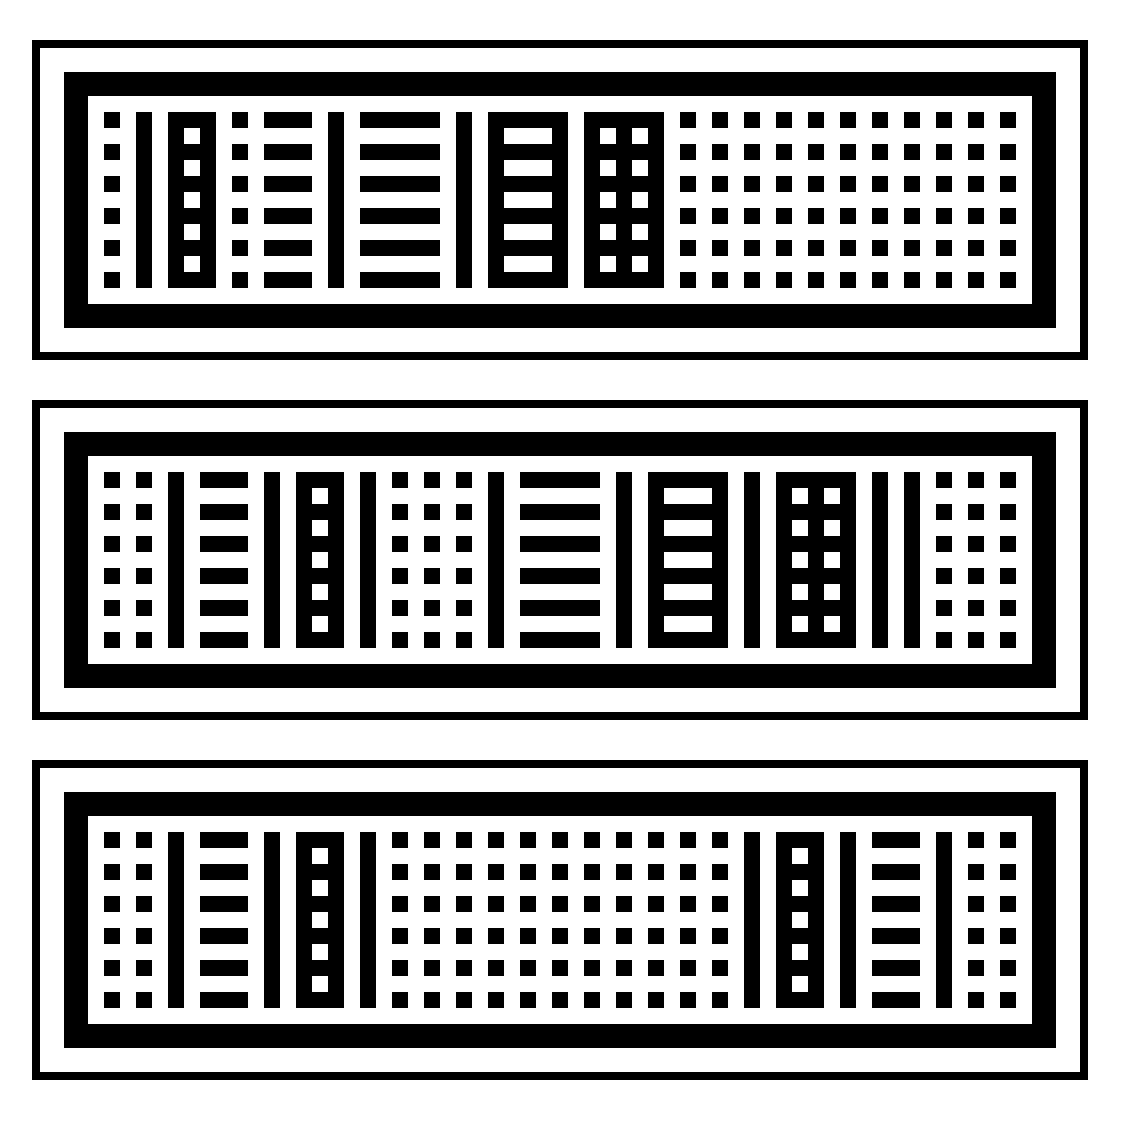
The digital sketches are where I decide scale. I typically work at a very low resolution, and each pixel represents several threads: working at that scale makes it easier to see the proportions the finished piece could have. In this case, a 2x2 pixels block ended up representing a block with 5 lace crosses in it.
I kept doodling, and realized that a grid of dots could provide great variation. I could leave the dots separated, or connect them into horizontal lines, or create vertical lines. This worked out to five building blocks:
- Plain weave only (hems);
- Lace over the entire width except for the outer edges (lace border);
- Lace borders, internal plain weave;
- Lace borders, internal dots;
- Lace borders, internal line.
The next step is to move to weaving software: I use WeavePoint, specifically the Mini version. That's where I lay out the exact structure and what every thread does. In this case, it's also where I figured out how the structure was actually going to work!
Plain weave requires two shafts and two treadles. Each lace block will use those two treadles, plus two of its own. Since we have four lace blocks, plus plain weave, that's a total of ten shafts. The resulting tie-up is optimized for elegance, and it could use extra tweaking so the left and right foot alternate on each pick. As it is, each foot will move between a plain weave and a lace treadle.
I wove this using two shades of natural 16/3 linen, which gives a more rustic result than I would typically go for. Weaving with thick yarn does come with few gotchas especially when a warp end breaks, but it's pleasantly fast compared to very thin threads! Linen generalities apply: wet the yarn thoroughly before tying a knot, humidify spools so the yarn will behave at the selvedges, and spray water on the warp once in a while to keep it happy.
I also used an accent color in the lace border frame, to make it stand out even more. Those threads were put on bobbins with a method similar to the one explained in the selvedges and leno posts, both to account for the difference in take-up and to allow for easier color changes during weaving.
The project is described in details in a pattern available as a free download on itch.io. The document includes all the information you need to make your own version of the project: materials, calculations, full draft, warp setup, color management and patterning.
PS: This post skips over the technicalities of block weaves. Cally Booker over at Weaving Space has a great intro to the topic if you want something more thorough.


