Warp rep
Back in July 2018, I decided that I needed carpets. The most urgent one was for the loom, so the treadles would not slam against the floor all the time. I'd also make one for the spinning wheel so it wouldn't slide around, and why not one for our top floor while at it? That meant something sturdy, flat, decently fast to weave, and easily washable. I settled on cotton warp rep, which is tight, flat, as sturdy as it gets, and machine-washable.
Warp rep is basically plain weave, but with a strong color effect due to the varying thickness of the weft. Warp ends alternate color, meaning a single color is on the top layer in each shed: so alternating a thick and a thin weft will make one color dominate. I had leftovers of Borgs' 8/2 cotton, and set up a small sample warp with that in red and black. The final project used the same yarn quality, in dark grey and light green-blue. I used that same yarn as the thin weft, and a stranded cotton yarn from Borgs called "Midi" as the thick weft. I would ideally have wanted it in dark grey to match the warp, but it's only available in a few colors, and I settled on black.
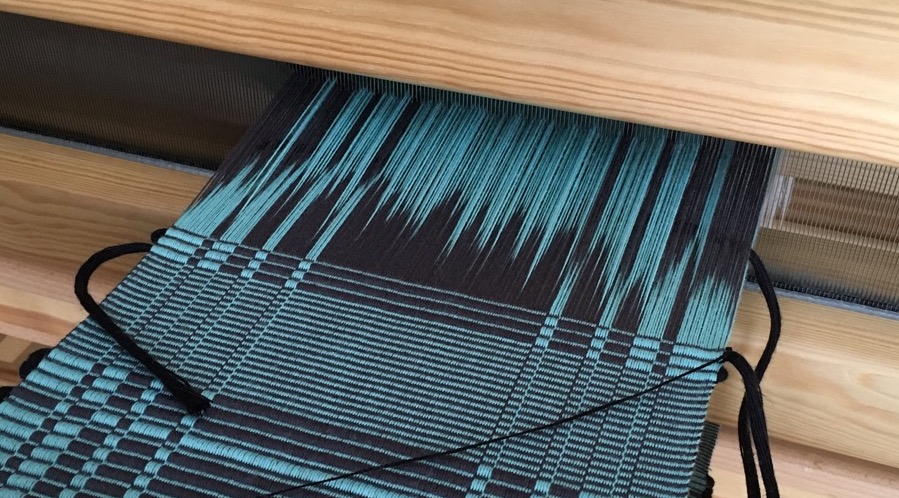
This technique requires very high warp density to fully hide the weft, theoretically as dense as the warp yarn can be wound, but doubled. Borgs' 8/2 cotton makes about 14 wraps per centimeter. I mistakenly started my first sample at that density, 70/10,1-2 which of course turned out way too loose. I re-sleyed at 70/10,1-3, resulting in 21 threads per centimeter, which was still a bit loose in addition to looking oddly uneven due to the 3 threads per dent. Since warp rep is plain weave, keeping an even number of ends per dent is better, to match the structure. I re-sleyed again at 24 threads per centimeter, 60/10,1-4, which finally turned out great. Note that the pictures below are from another project using the same quality, not the wider carpet warp.
With such a high warp density, the warping was going to take forever. I needed 1680 threads! I therefore warped with 4 threads at once, 2 of each color. Note that the cross should have at least 2 threads in each section: otherwise, it's impossible to swap the order of warp ends to create different color blocks. I learned that the hard way when setting up another, narrower project with the same quality, which is the one photographed for this article. As recommended by Ulla Cyrus' Handbok i vävning, I threaded on 4 shafts in the order 1-3-2-4, to reduce friction. That means shafts 1 and 2 will move together, rather than 1 and 3. That improvement was vital, because it turns out that the wider the warp, the higher the friction, and the harder the treadling.
The weaving process has a few gotchas as a result. Stepping hard on the treadles is definitely a must, as is using the reed to open the shed a bit better. Since two wefts are used, making sure they twist nicely on the edge is important to lock in the last warp end. That can be done by always putting the unusued shuttle to the side of the weaving, and passing the active shuttle over or under it depending on what's needed.
My full process ended up being:
- Pass one weft, making sure to twist around the other weft.
- Stretch it straight inside the shed, leaving a loop at the end. There's no weft take-up in warp rep, and you'll need that extra to perfect the previous row.
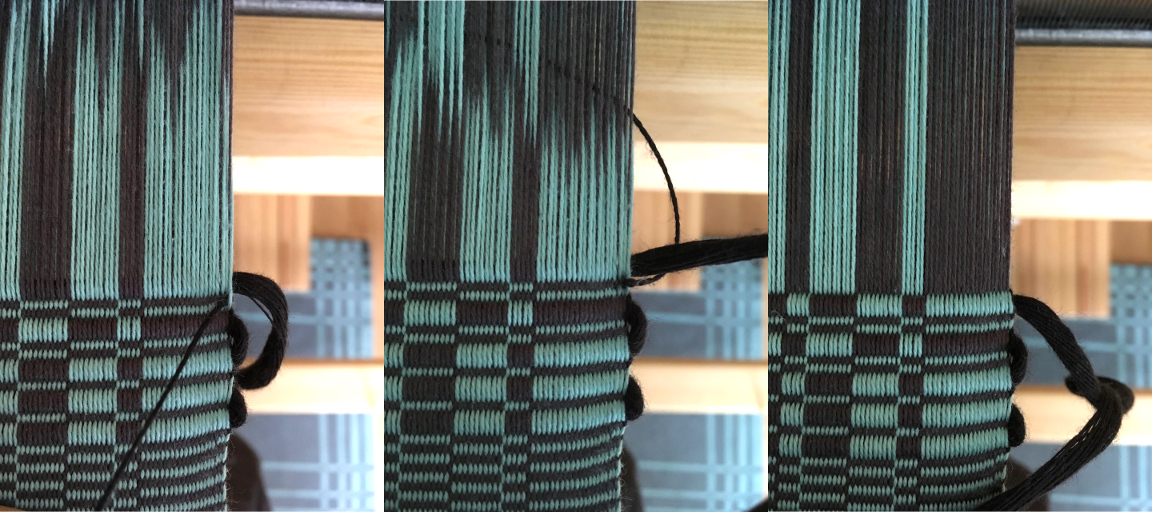
- Beat. The selvedges will look messy, that's normal.
- Using your fingers, open the selvedges down to the previous pick.
- Re-tension the end of the previous row using the loop you left earlier, and stretch the weft fully.
- Beat again, locking the weft fully in place.
- Switch treadle and repeat with the other weft quality.
The picture below shows the opening of the selvedges. Click to go to a full video of the weaving process (about 14MB).
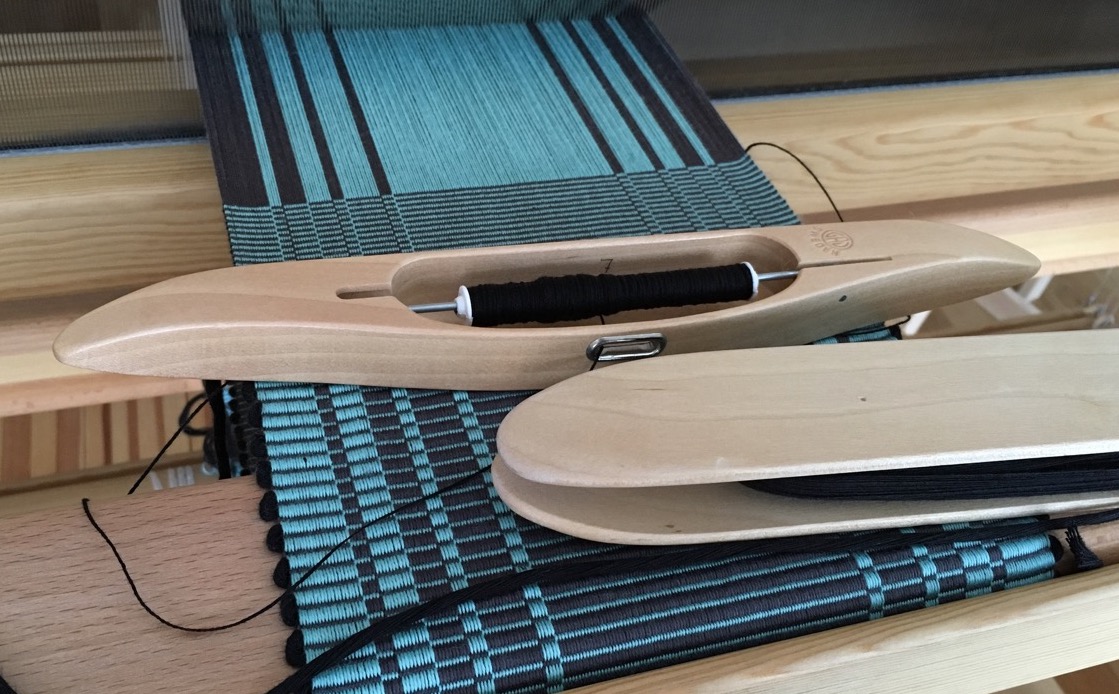
Regarding gear, I used a classic boat shuttle for the thin weft, and a big manually wound "double-ski" rug shuttle for the thick weft. Joining a new length of this thick weft needs to be done carefully. It's way too thick to be doubled up over a few centimeters, as it typically done. Instead, it's best to cut it along a diagonal and line it up just right with the new length. You can probably change it only in selvedges, too, but that would mean dangling bits!
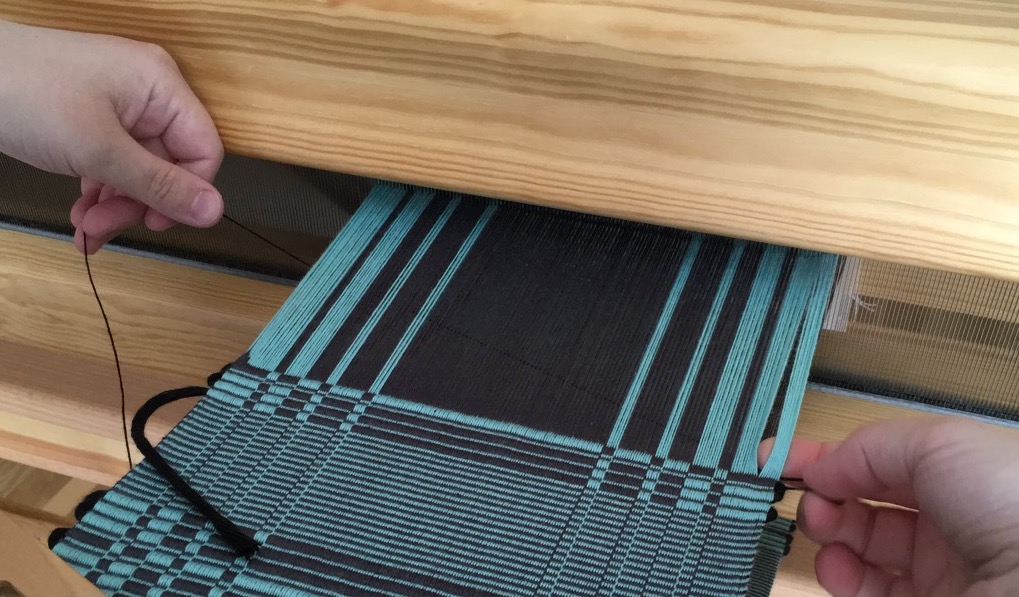
Note that the draft below is in Swedish style, with threading at the bottom, treadling on the right, and black squares in the tie-up indicating shafts going down. Horizontal color changes are achieved by swapping the order of the different colors of warp ends. Vertical color changes are achieved by doing two picks of thin weft to swap which warp color is on top with the thick weft.


